Install Libreboot on Lenovo ThinkPad T60
Open source BIOS/UEFI firmware
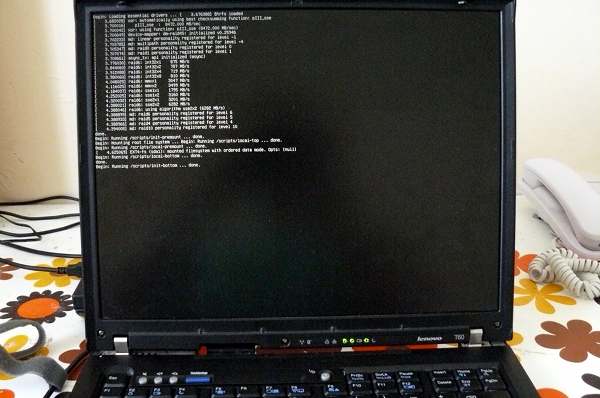
This document will teach you how to install Libreboot, on your Lenovo Thinkpad T60 motherboard. Libreboot is a Free Software project that replaces proprietary BIOS/UEFI firmware. This version of the guide shows you how to flash using external hardware, which can be useful for un-bricking.
NOTE: Libreboot standardises on flashprog now, as of 27 January 2024, which is a fork of flashrom. The reason why was explained, in the Libreboot 20240225 release
“Unbricking” means flashing a known-good (working) ROM. The problem: you can’t boot the system, making this difficult. In this situation, external hardware is needed which can flash the SPI chip (where libreboot resides). First, disassemble the machine using the following steps, and refer to the external flashing guide linked later from this guide.
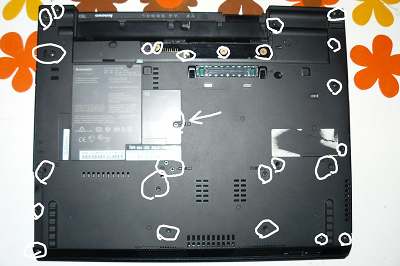
Remove those screws and remove the HDD:
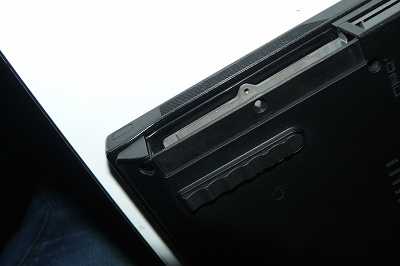
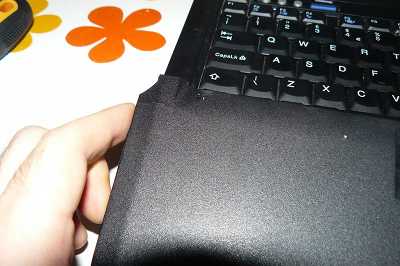
Lift off the palm rest:
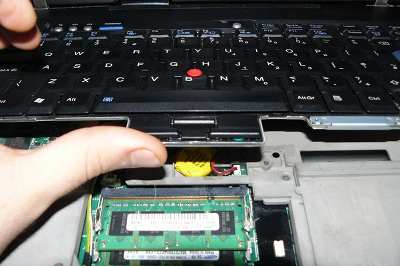
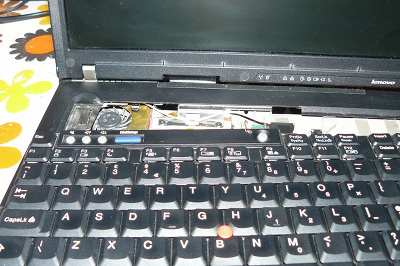
Lift up the keyboard, pull it back a bit, flip it over like that and then disconnect it from the board:
Gently wedge both sides loose:
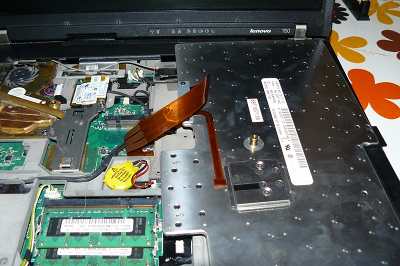
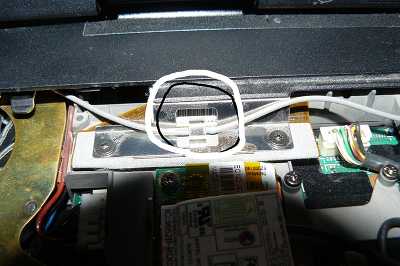
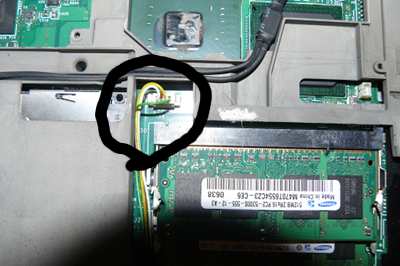
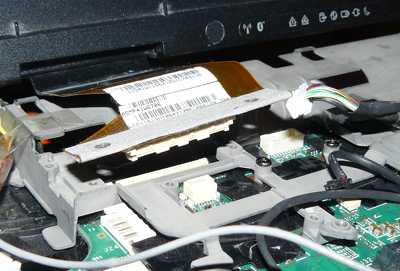
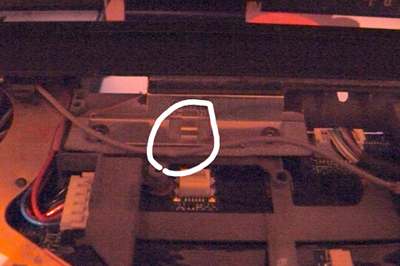
Remove that cable from the position:
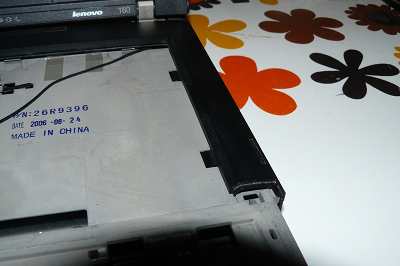
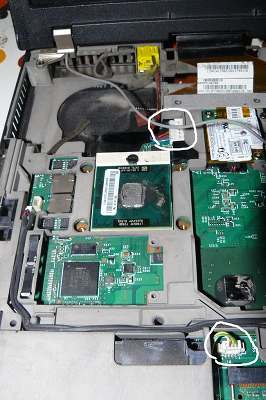
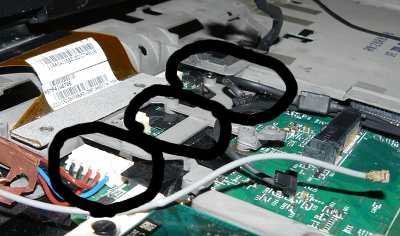
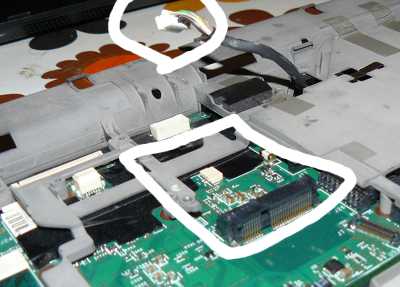
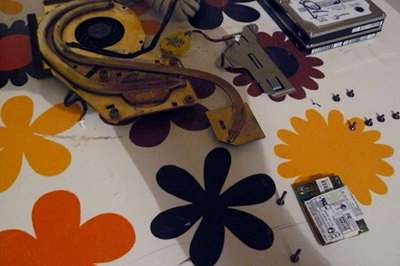
Now remove that bezel. Remove wifi, nvram battery and speaker connector (also remove 56k modem, on the left of wifi):
Remove those screws:
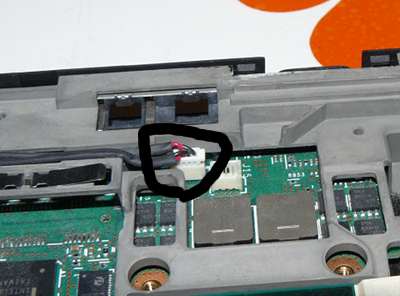
Disconnect the power jack:
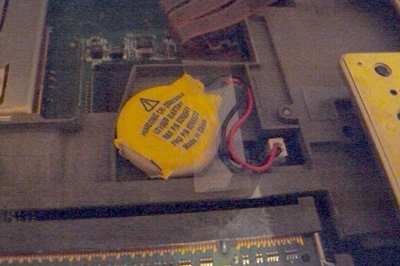
Remove nvram battery:
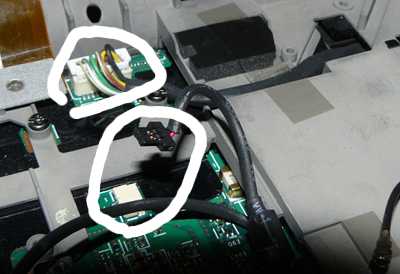
Disconnect cable (for 56k modem) and disconnect the other cable:
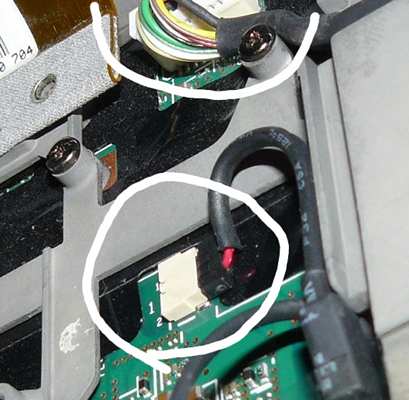
Disconnect speaker cable:
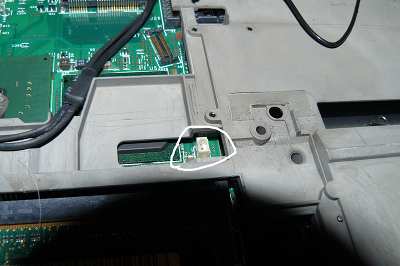
Disconnect the other end of the 56k modem cable:
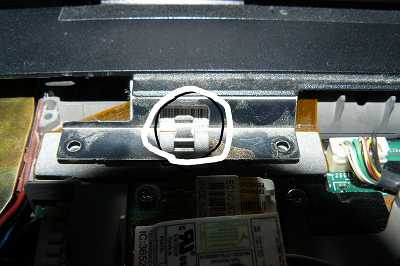
Make sure you removed it:
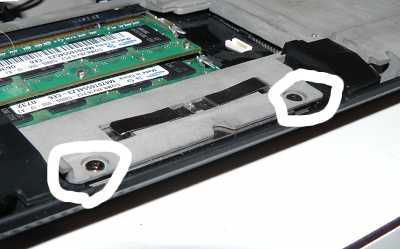
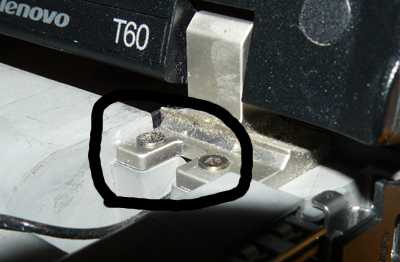
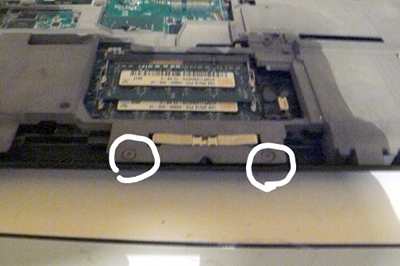
Unscrew those:
Make sure you removed those:
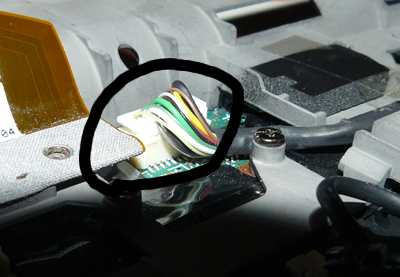
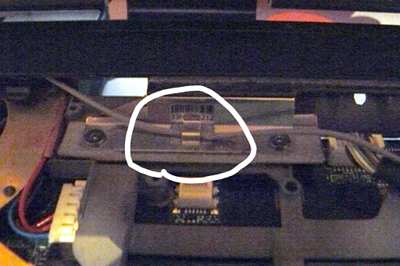
Disconnect LCD cable from board:
Remove those screws then remove the LCD assembly:

Once again, make sure you removed those:
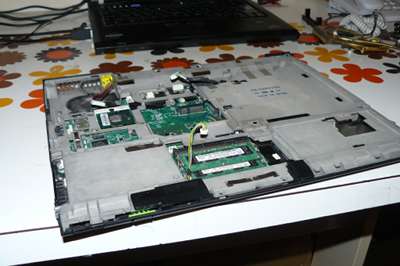
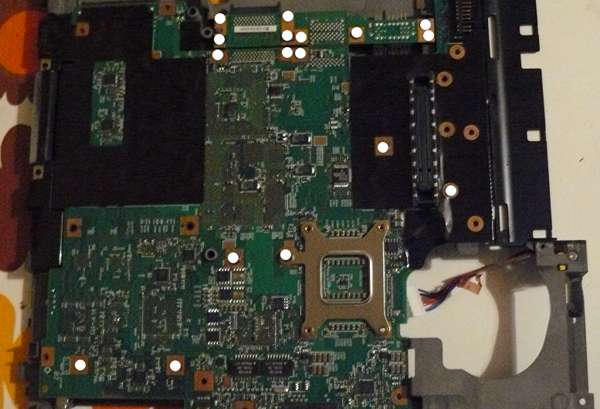
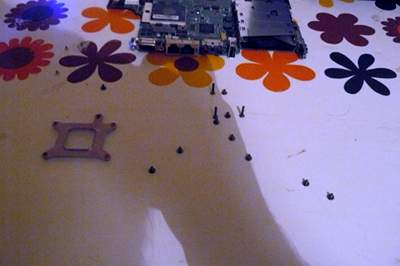
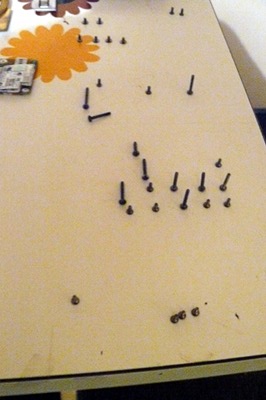
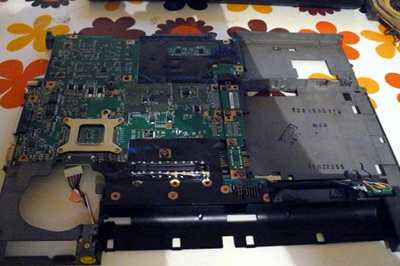
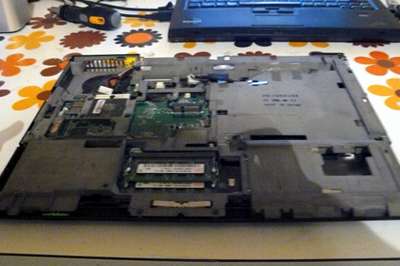
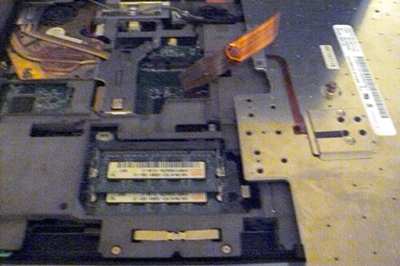
Remove the shielding containing the motherboard, then flip it over. Remove these screws, placing them on a steady surface in the same layout as they were in before you removed them. Also, you should mark each screw hole after removing the screw (a permanent marker pen will do), this is so that you have a point of reference when re-assembling the system:
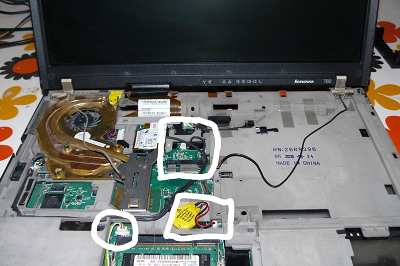
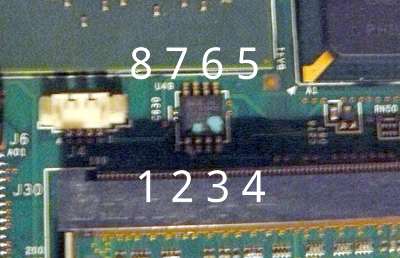
This photo shows the flash chip, near the RAM, with numbers of pins written:
Refer to the external flashing guide:
Externally rewrite 25xx NOR flash via SPI protocol
Example command:
sudo ./flashprog -p linux_spi:dev=/dev/spidev0.0,spispeed=4096 -w libreboot.rom -VIf flashprog complains about multiple flash chips detected, just pass the -c option as it suggests, and pick any of the chips it lists. spispeed=4096 or lower (e.g. spispeed=512) is recommended on this board. The flashing becomes unstable, on this machine, when you use higher speeds.
Reverse the steps to re-assemble your system, after you’ve flashed the chip.
It should be Verifying flash... VERIFIED at the end. If flashprog complains about multiple flash chip definitions detected, then choose one of them following the instructions in the output.
Put those screws back:
Put it back into lower chassis:
Attach LCD and insert screws (also, attach the lcd cable to the board):
Insert those screws:
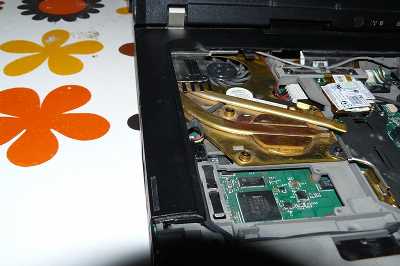
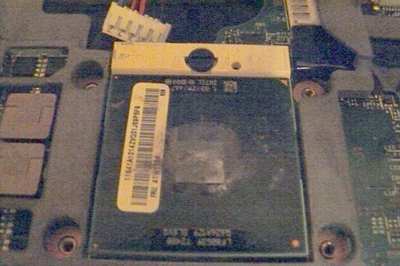
On the CPU (and there is another chip south-east to it, sorry forgot to take pic) clean off the old thermal paste (with the alcohol) and apply new (Artic Silver 5 is good, others are good too) you should also clean the heatsink the same way
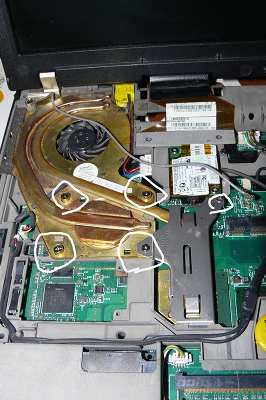
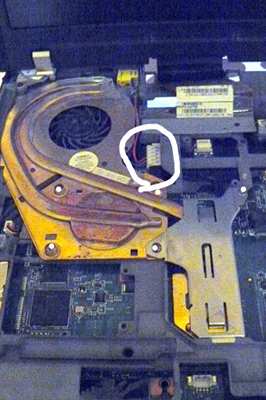
Attach the heatsink and install the screws (also, make sure to install the AC jack as highlighted):
Reinstall that upper bezel:

Do that:
Re-attach modem, wifi, (wwan?), and all necessary cables. Sorry, forgot to take pics. Look at previous removal steps to see where they go back to.
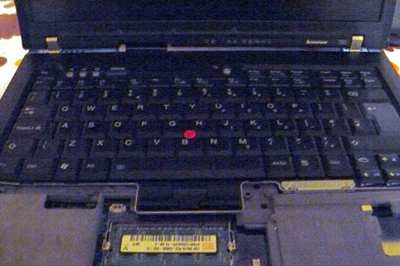
Attach keyboard and install nvram battery:
Place keyboard and (sorry, forgot to take pics) reinstall the palmrest and insert screws on the underside:
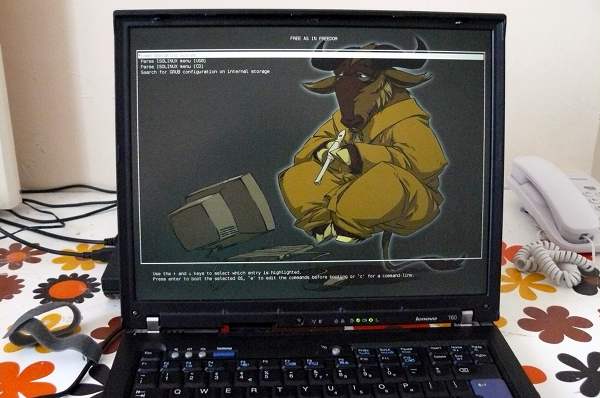
It lives!
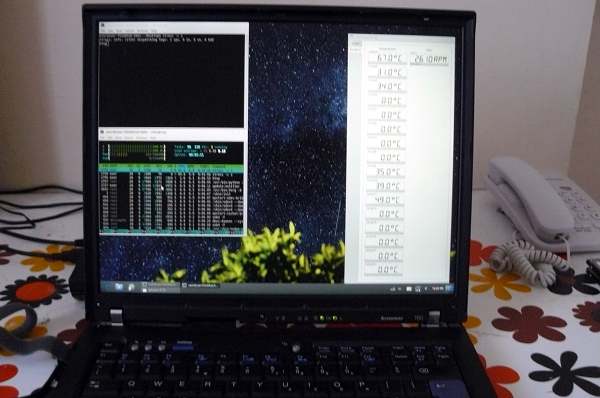
Always stress test (‘stress -c 2’ and xsensors. below 90C is ok) when replacing cpu paste/heatsink:
The Canoeboot version of this page is: https://canoeboot.org/docs/install/t60_unbrick.html
Markdown file for this page: https://libreboot.org/docs/install/t60_unbrick.md
This HTML page was generated by the Libreboot Static Site Generator.