PLEASE READ THESE INSTRUCTIONS BEFORE INSTALLING, OR YOU MAY BRICK YOUR MACHINE!! - Please click the link and follow the instructions there, before flashing. For posterity, here is the link again.
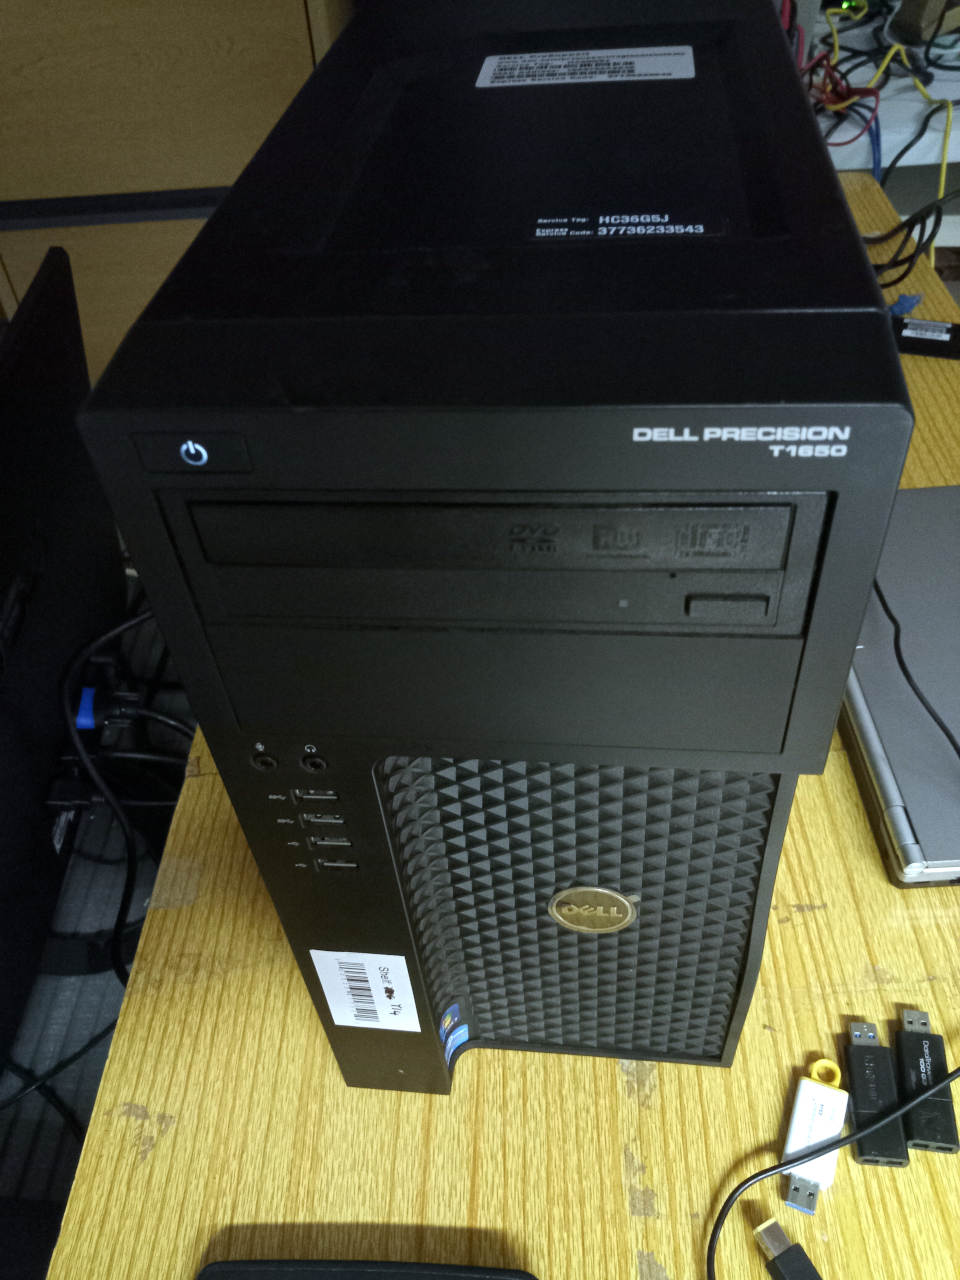

| Specifications | |
|---|---|
| Manufacturer | Dell |
| Name | Precision T1650 |
| Variants | Precision T1650 |
| Released | 2012 |
| Chipset | Intel C216 |
| CPU | Intel Ivy Bridge |
| Graphics | Discrete graphics, or Intel HD Graphics model |
| depending on CPU model | |
| Memory | DDR3 DIMMs (max 32GB, 4x8GB), ECC memory supported |
| Architecture | x86_64 |
| Original boot firmware | Dell UEFI firmware |
| Intel ME/AMD PSP | Present. Can be disabled with me_cleaner. |
| Flash chip | SOIC-16 and/or SOIC-8 12MiB (96Mbit) |
W+: Works without vendor firmware;
N: Doesn't work;
W*: Works with vendor firmware;
U: Untested;
P+: Partially works;
P*: Partially works with vendor firmware
?: UNKNOWN AT THIS TIME| Features | |
|---|---|
| Internal flashing with original boot firmware | W* |
| Display (if Intel GPU) | W+ |
| Display (discrete GPU, SeaBIOS payload only) | W* |
| Audio | W+ |
| RAM Init | W+ |
| Payloads supported | |
|---|---|
| GRUB (libgfxinit only) | Works |
| SeaBIOS | Works |
| SeaBIOS with GRUB | Works |
Open source BIOS/UEFI firmware
This document will teach you how to install Libreboot, on your Dell Precision T1650 desktop motherboard. Libreboot is a Free Software project that replaces proprietary BIOS/UEFI firmware.
Unavailable in Libreboot 20230625 or earlier. You must compile from source, or use at least Libreboot 20231021.
Official information about the laptop can be found here: https://i.dell.com/sites/csdocuments/Shared-Content_data-Sheets_Documents/en/uk/Dell_Precision_T1650_Spec_Sheet.pdf
This is similar code-wise to Dell OptiPlex 9010 which coreboot supports.
Build ROM image from source
The build target, when building from source, is thus:
./mk -b coreboot t1650_12mbAlternatively, you can use release images, but please ensure that you’ve inserted vendor files prior to flashing; see notes.
Install Libreboot
Insert vendor files
If you’re using a release ROM, please ensure that you’ve inserted extra firmware required refer to the guide for that. (failure to adhere to this advice will result in a bricked machine)
Libreboot’s build system automatically downloads and processes these files if you build Libreboot from source, but the same logic that it uses must be re-run if you’re using a release image.
Set MAC address
This platform uses an Intel Flash Descriptor, and defines an Intel GbE NVM region. As such, release/build ROMs will contain the same MAC address. To change the MAC address, please read nvmutil documentation.
WARNING about CPU/GPU compatibility
At the time of testing this board, I didn’t have a CPU with graphics built in, so I could only use discrete graphics on the PCI-E slot (in my case, Nvidia Quadro K420 running under the nouveau driver in Linux).
If you want to use onboard graphics, you must have a CPU that has a GPU built into it. You can find a list here:
https://en.wikipedia.org/wiki/Ivy_Bridge_(microarchitecture)
NOT ALL CPUs support ECC memory. You must use one that supports it, if you want to have the ECC feature, or else it won’t work. ECC allows for error correction, mitigating certain defects that develop over time in the RAM (it will not account for all defects, and memory always needs to be replaced eventually) - with ECC RAM, this machine is more suitable to applications where data integrity matters.
Because of this, Libreboot currently only provides ROM images where SeaBIOS is the first payload, and SeaBIOS is relied upon the execute the VGA ROM that’s stored on the graphics card. However, coreboot’s libgfxinit is also enabled, so onboard graphics should work if you don’t have a graphics card installed.
Coreboot has libre initialisation code for Intel graphics, but libre initialisation code is not available for most graphics cards. This machine can take any graphics card that fits in the PCI-E slot.
GRUB also works, from SeaBIOS when the machine is booted in text mode. Both coreboot GRUB, and BIOS GRUB provided by your (Linux) distro. It’s done this way (SeaBIOS first) because Libreboot’s configuration does not tell coreboot to execute VGA Option ROMs, and it’s important that we try to prevent bricks whenever possible.
Flash a ROM image (software)
If you’re already running Libreboot, and you don’t have flash protection turned on, internal flashing is possible.
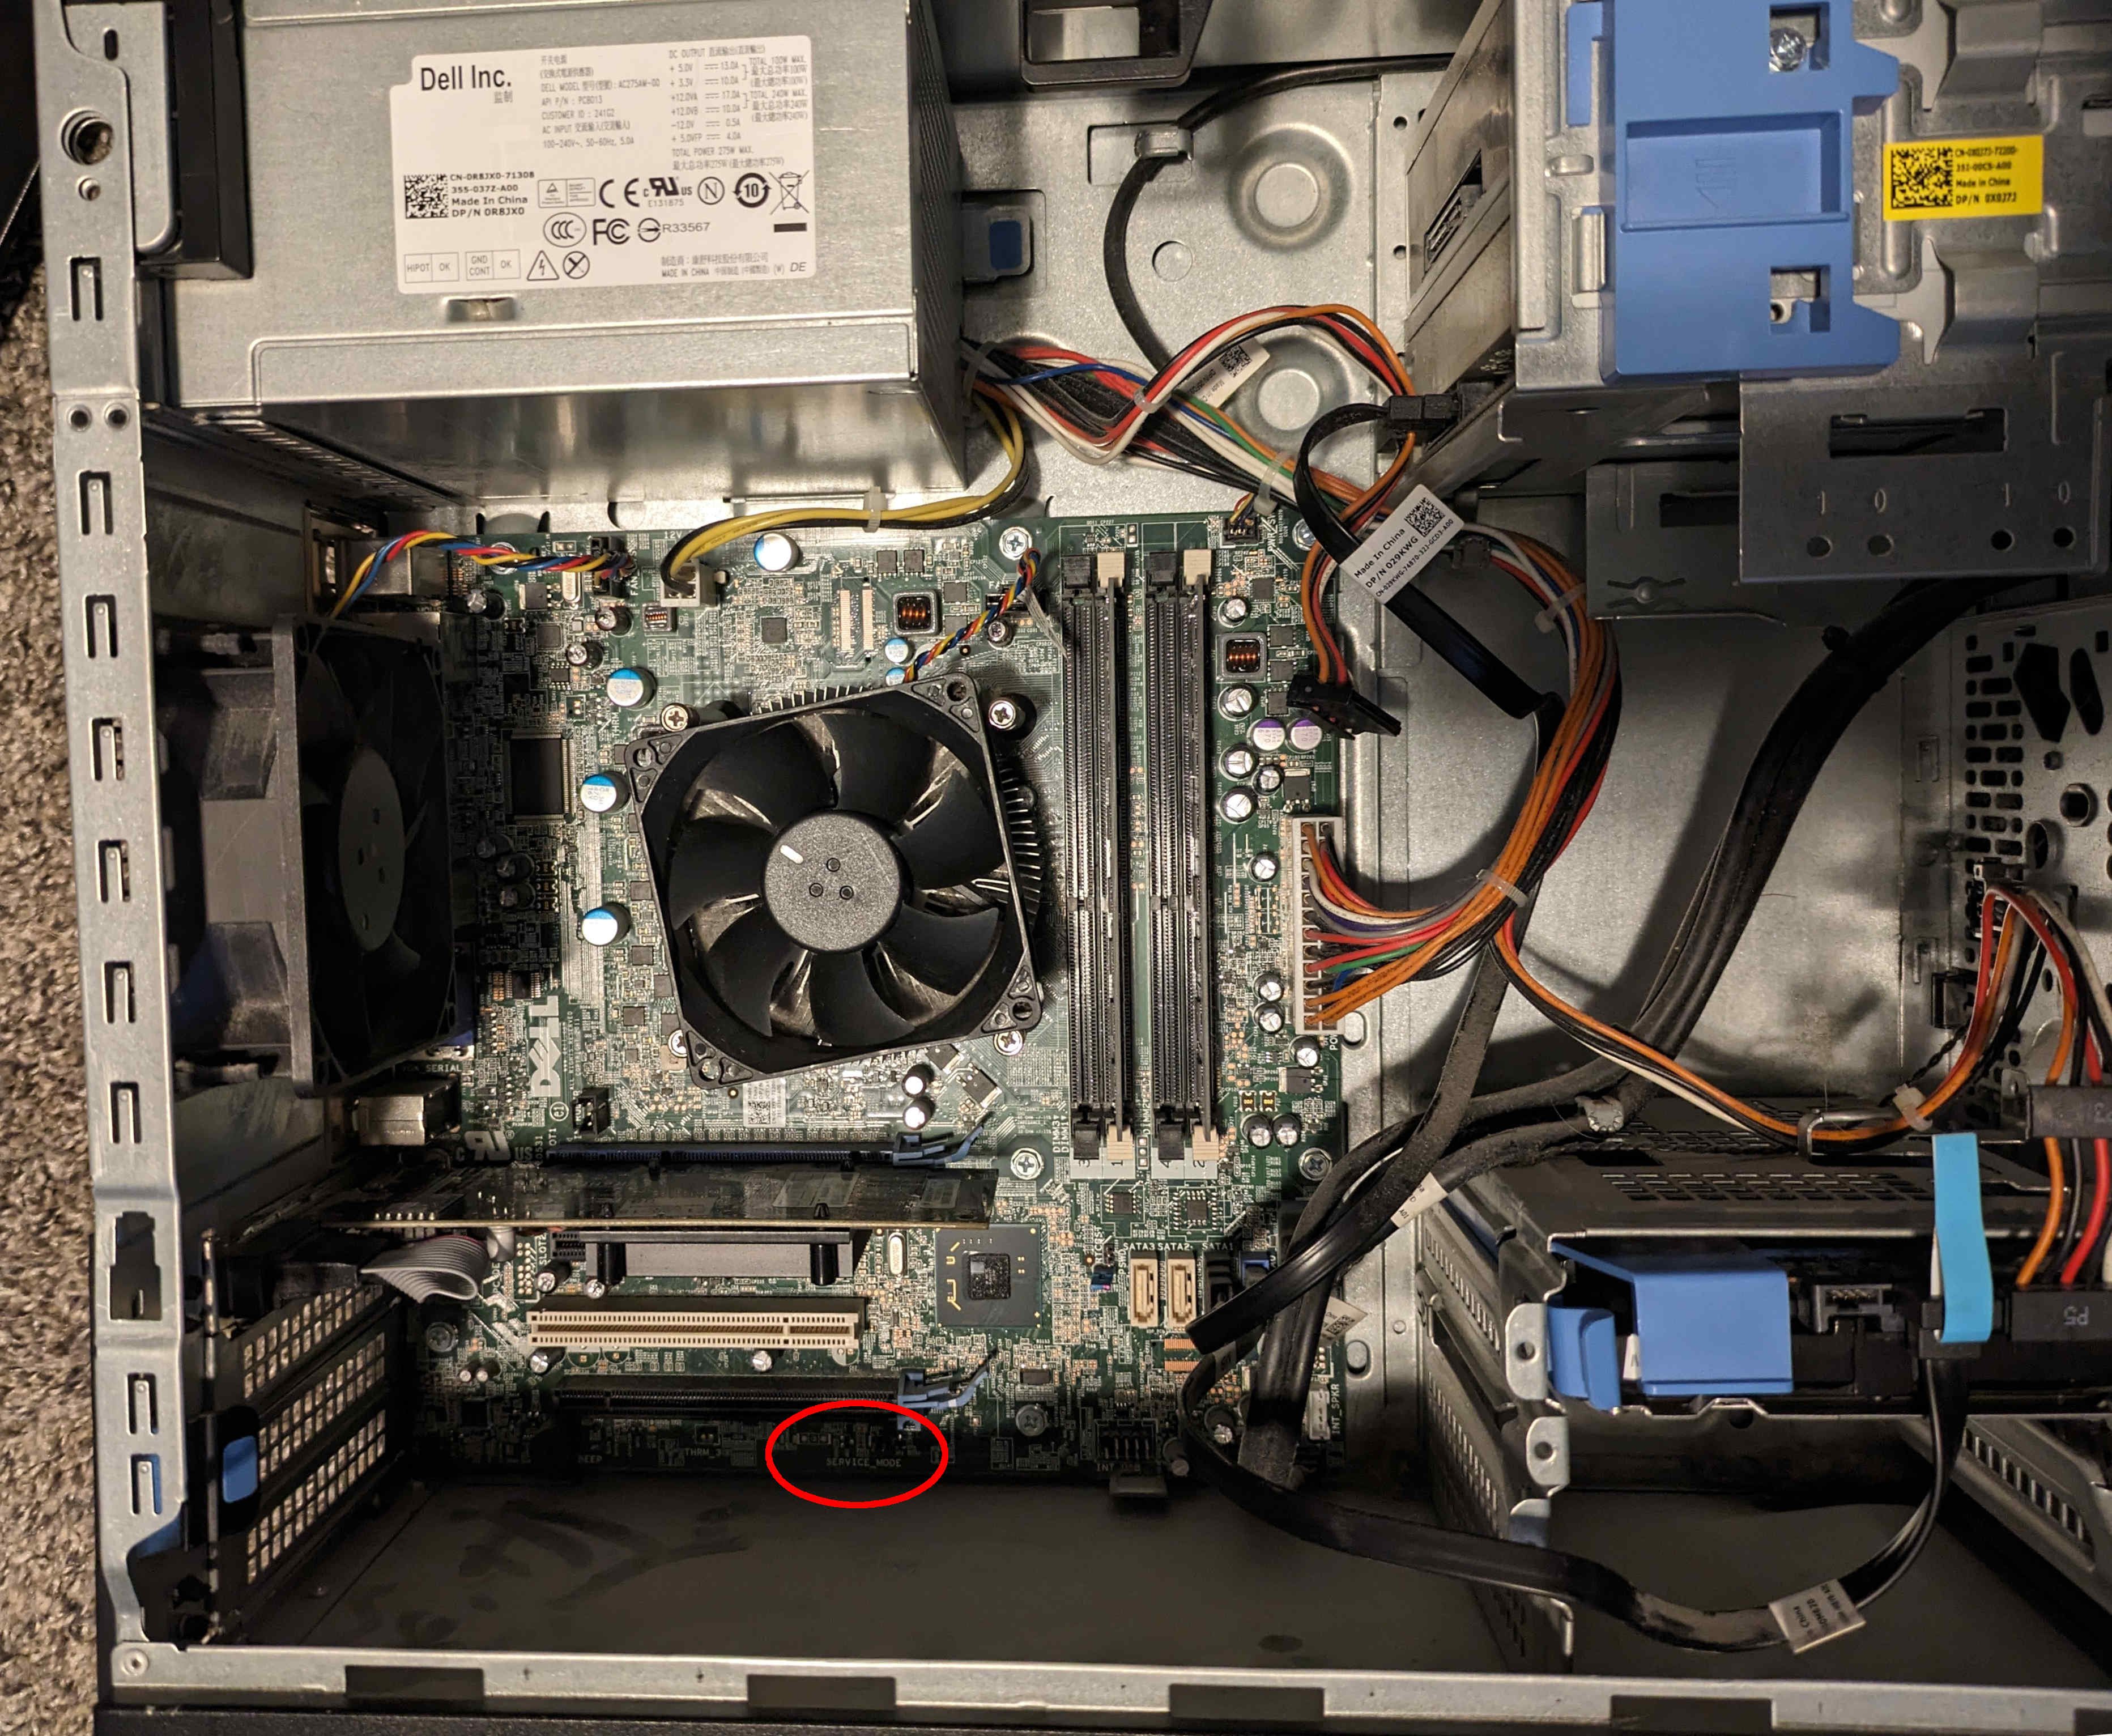
Internal flashing is also possible from the factory BIOS, if you set the service mode jumper. This shorts HDA_SDO (Soft Descriptor Override), which disables the ME after early bringup and disables IFD-based flash protections.
Observe, below the PCI slots:

Here is a close-up:
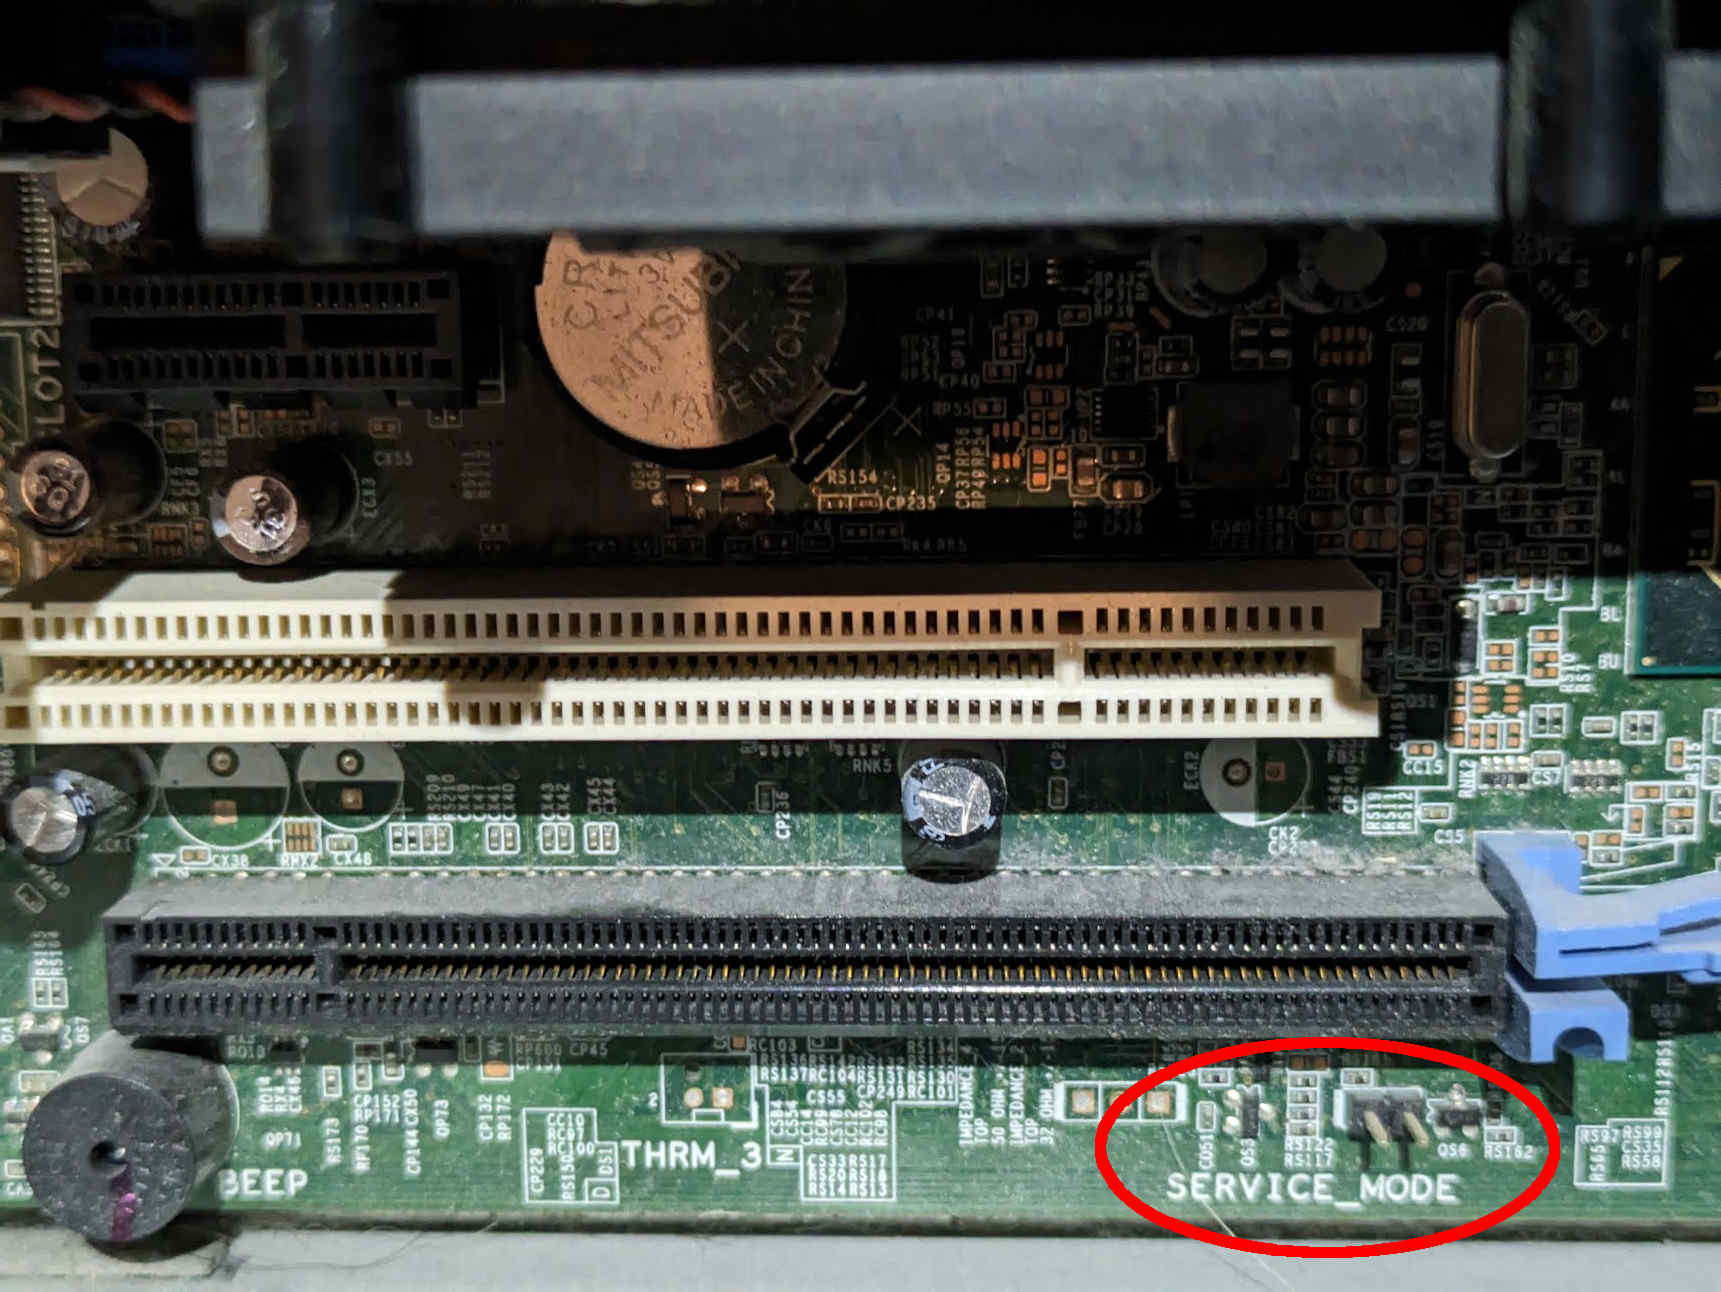

Simply short those pins, on the header, using a jumper. When you do this, all flash protections will be disabled.
Flash a ROM image (hardware)
REMOVE all power sources and connectors from the machine, before doing this. This is to prevent short circuiting and power surges while flashing.
For general information, please refer to 25xx NOR flash instructions - that page refers to use of socketed flash.
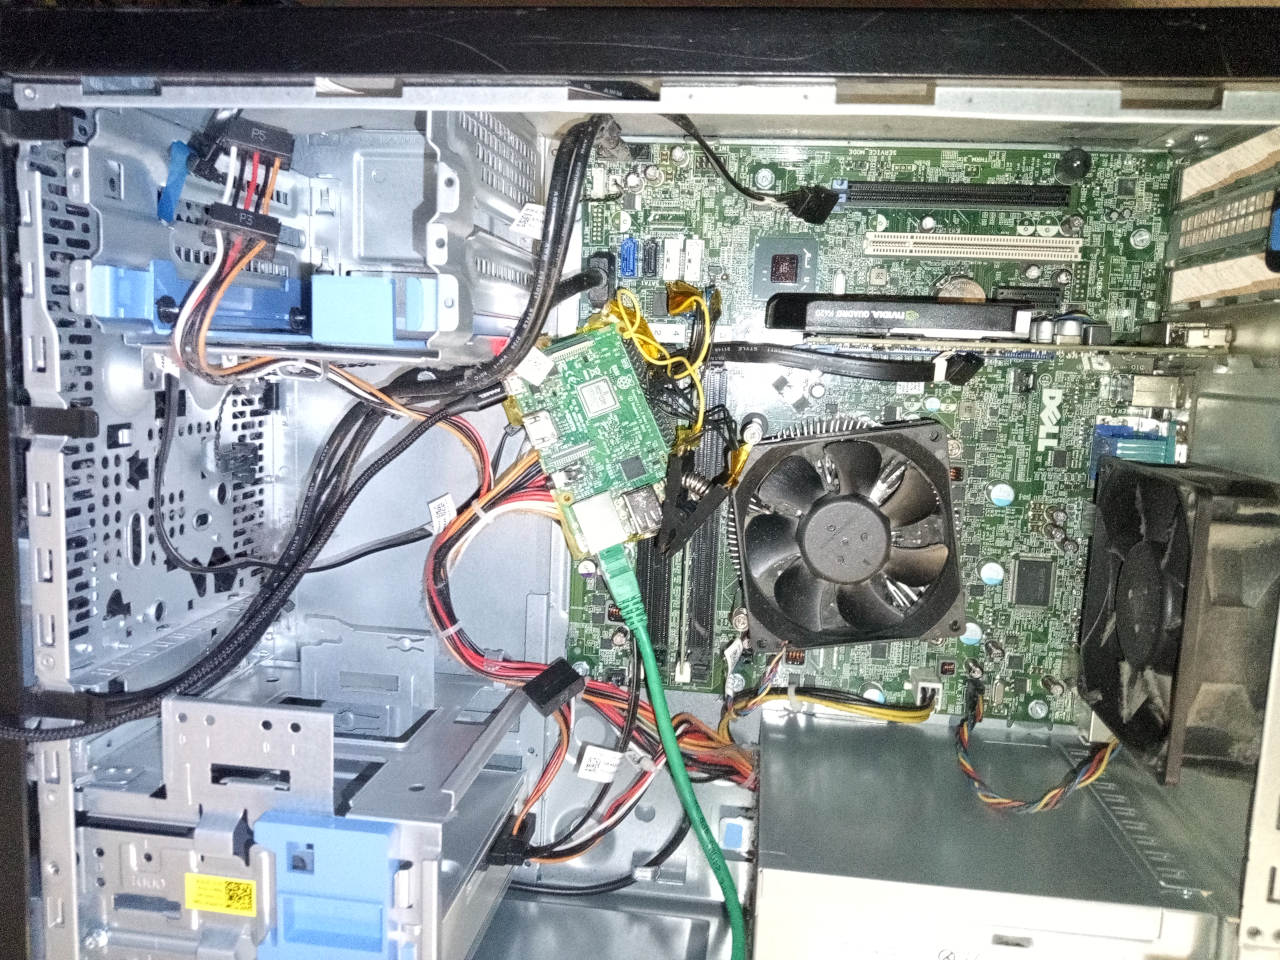
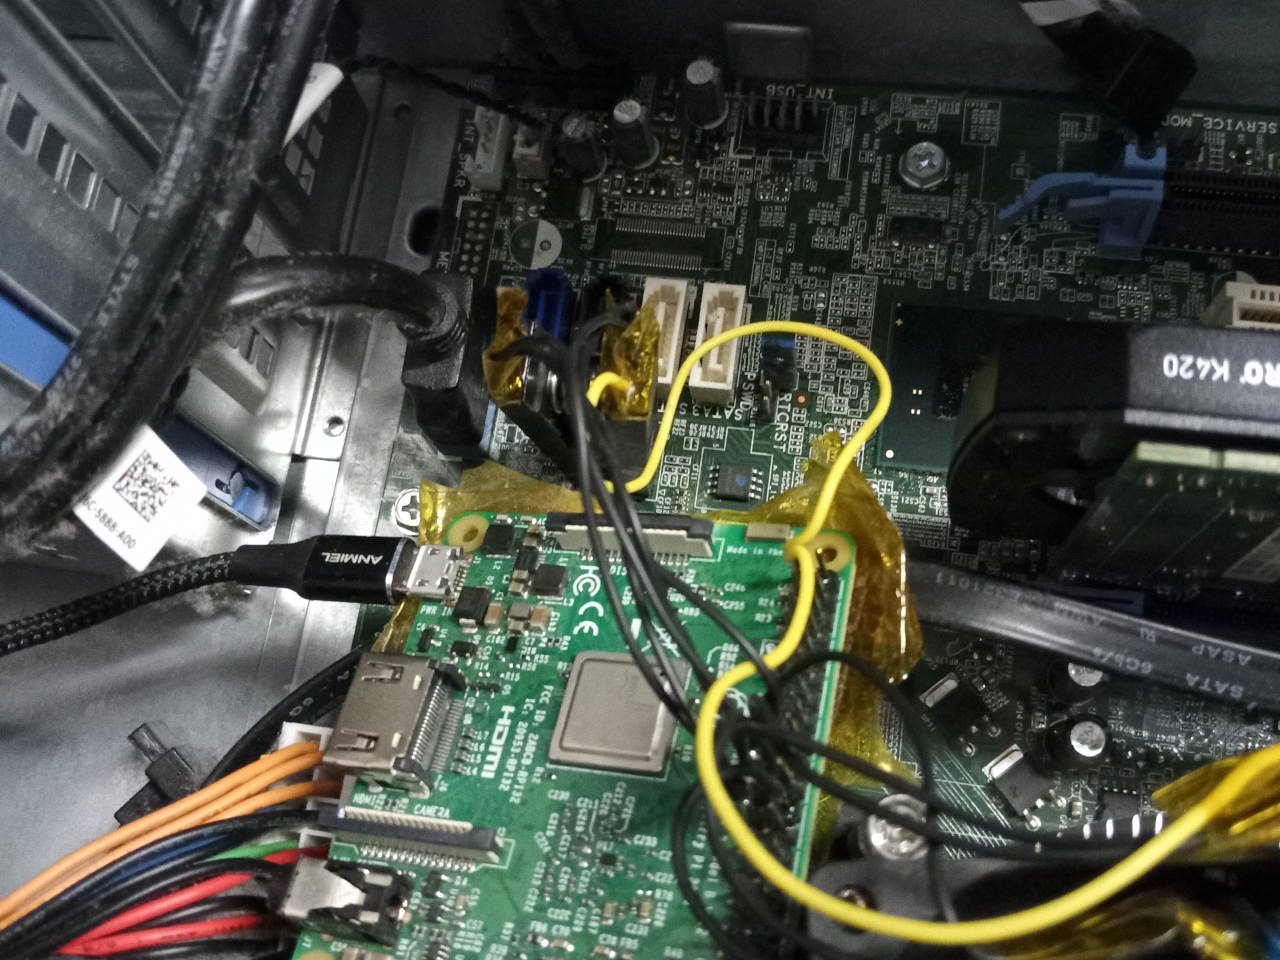
This machine is somewhat cumbersome to flash, because it has a SOIC-16 flash for the first 8MB part, and 4MB SOIC8. You can split up your 12MB ROM image like so:
dd if=libreboot.rom of=4mb.rom bs=1M skip=8
dd if=libreboot.rom of=8mb.rom bs=1M count=8
The side cover comes off easily, and you can find the flash ICs next to the RAM.
Here’s the SOIC8 IC being flashed:

and here is the SOIC16 IC being flashed:

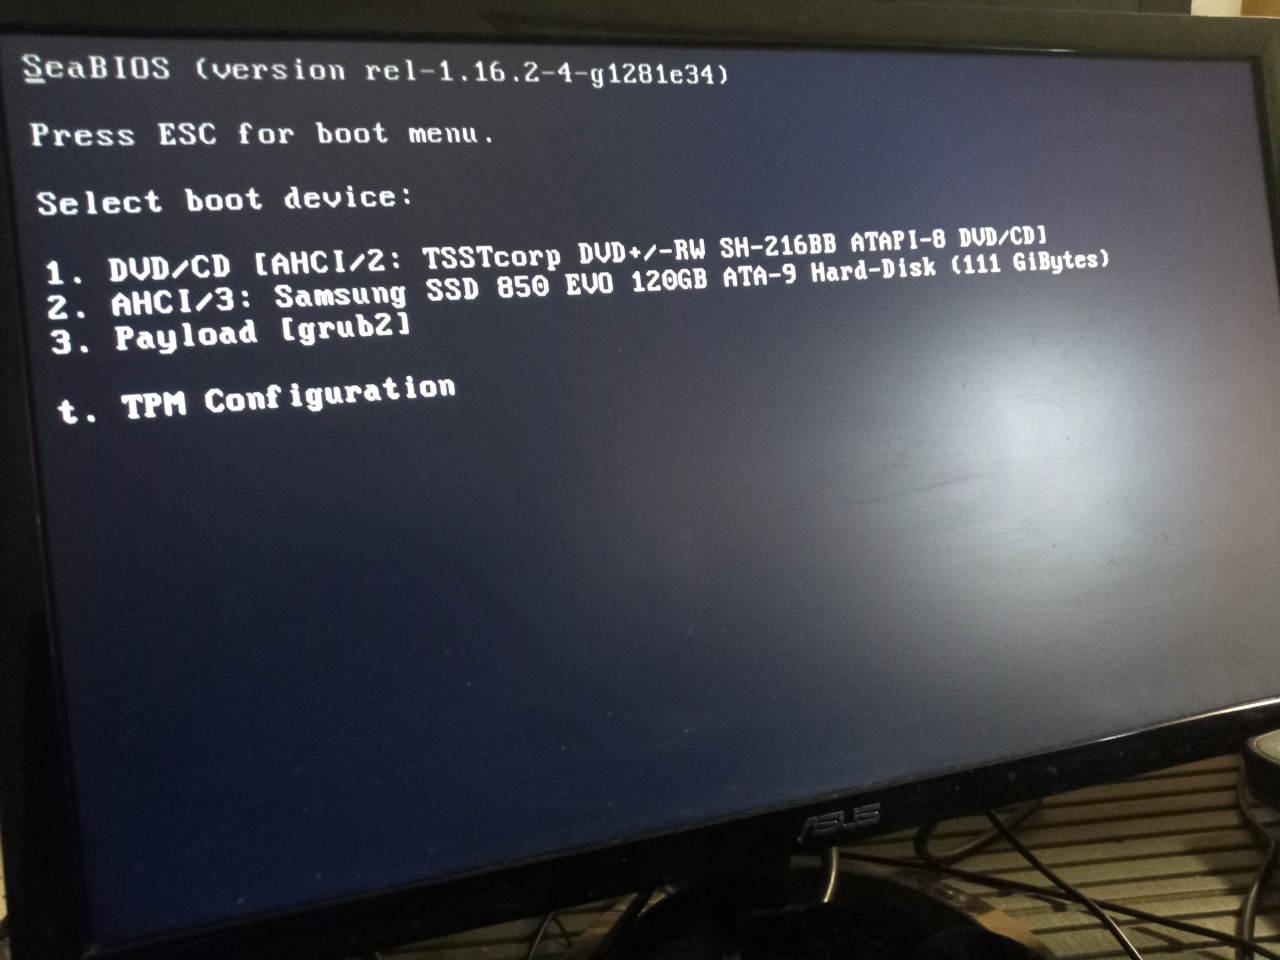
Here is SeaBIOS after a successful boot attempt:

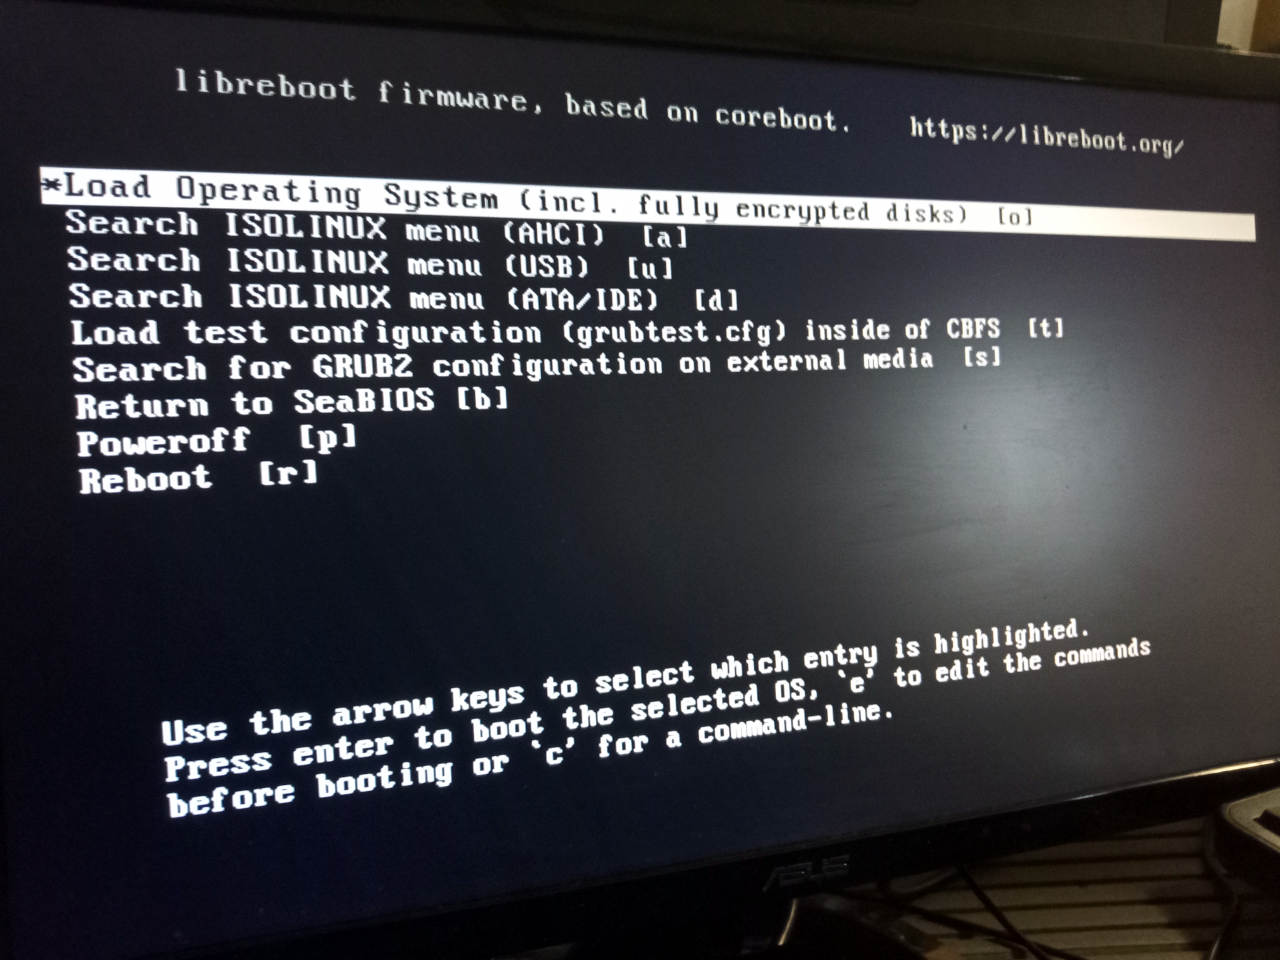
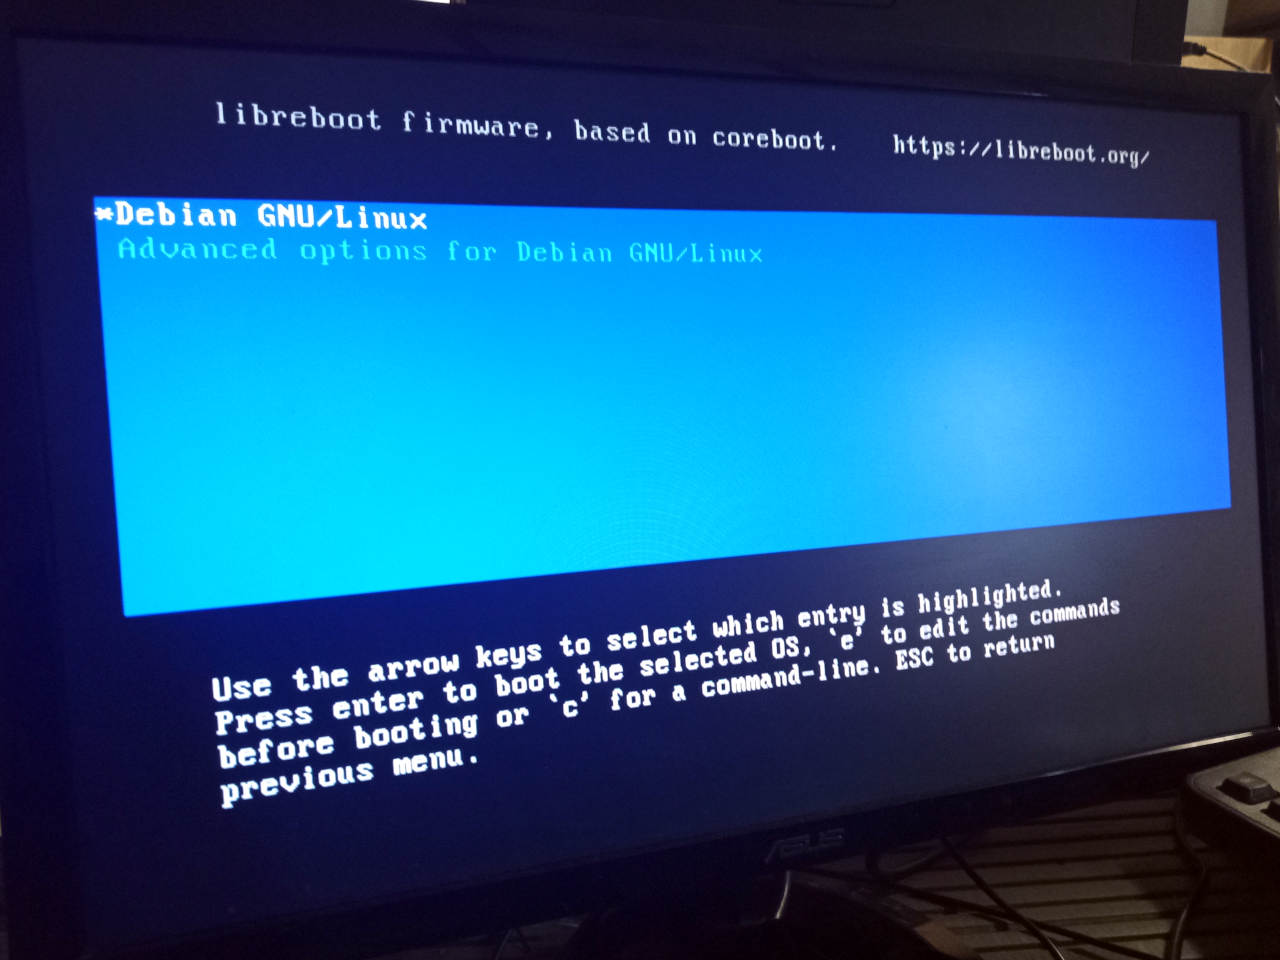
Here is GRUB:

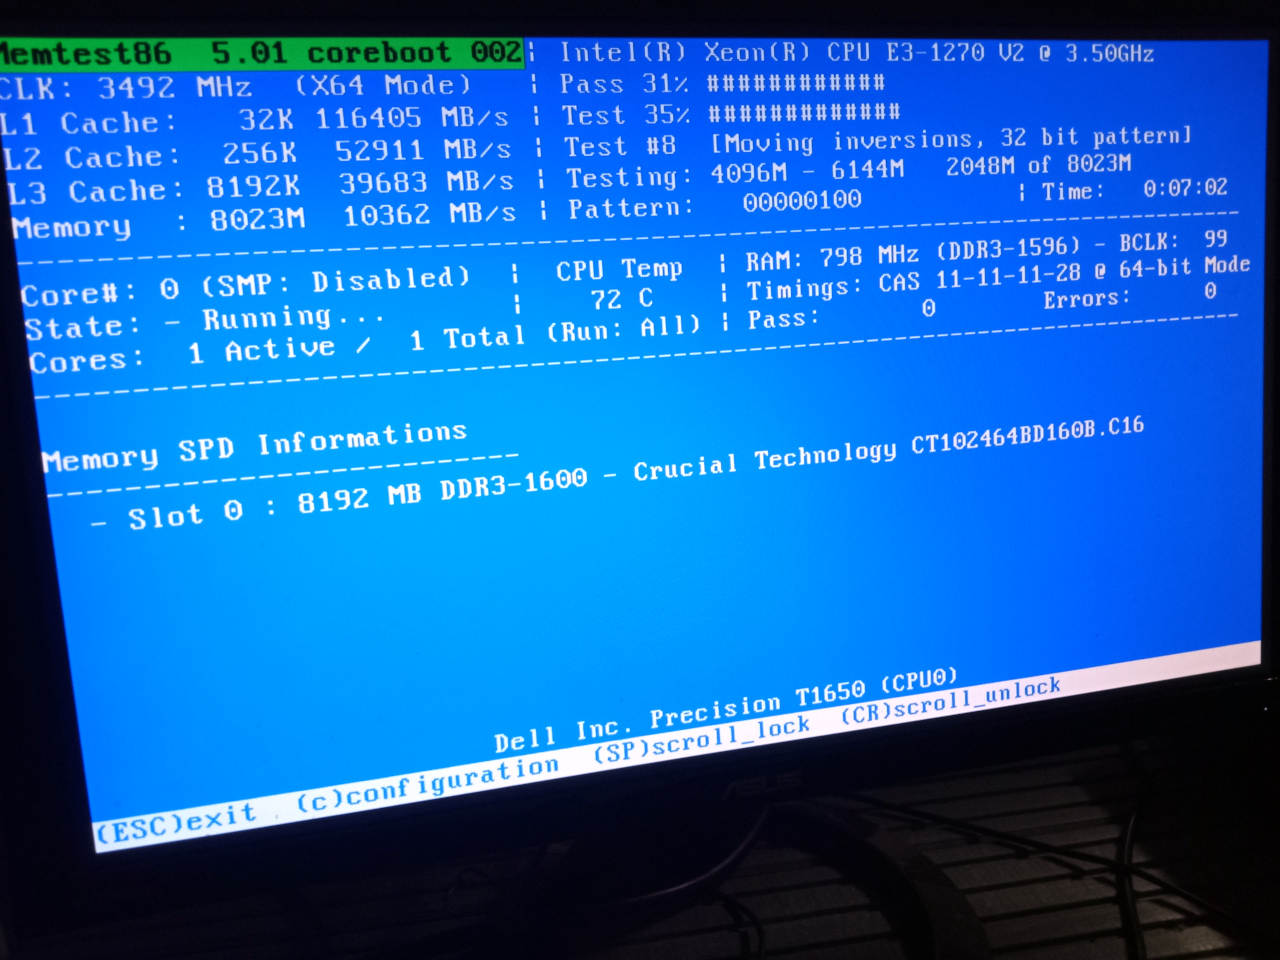
MemTest86+:

The Debian installer:

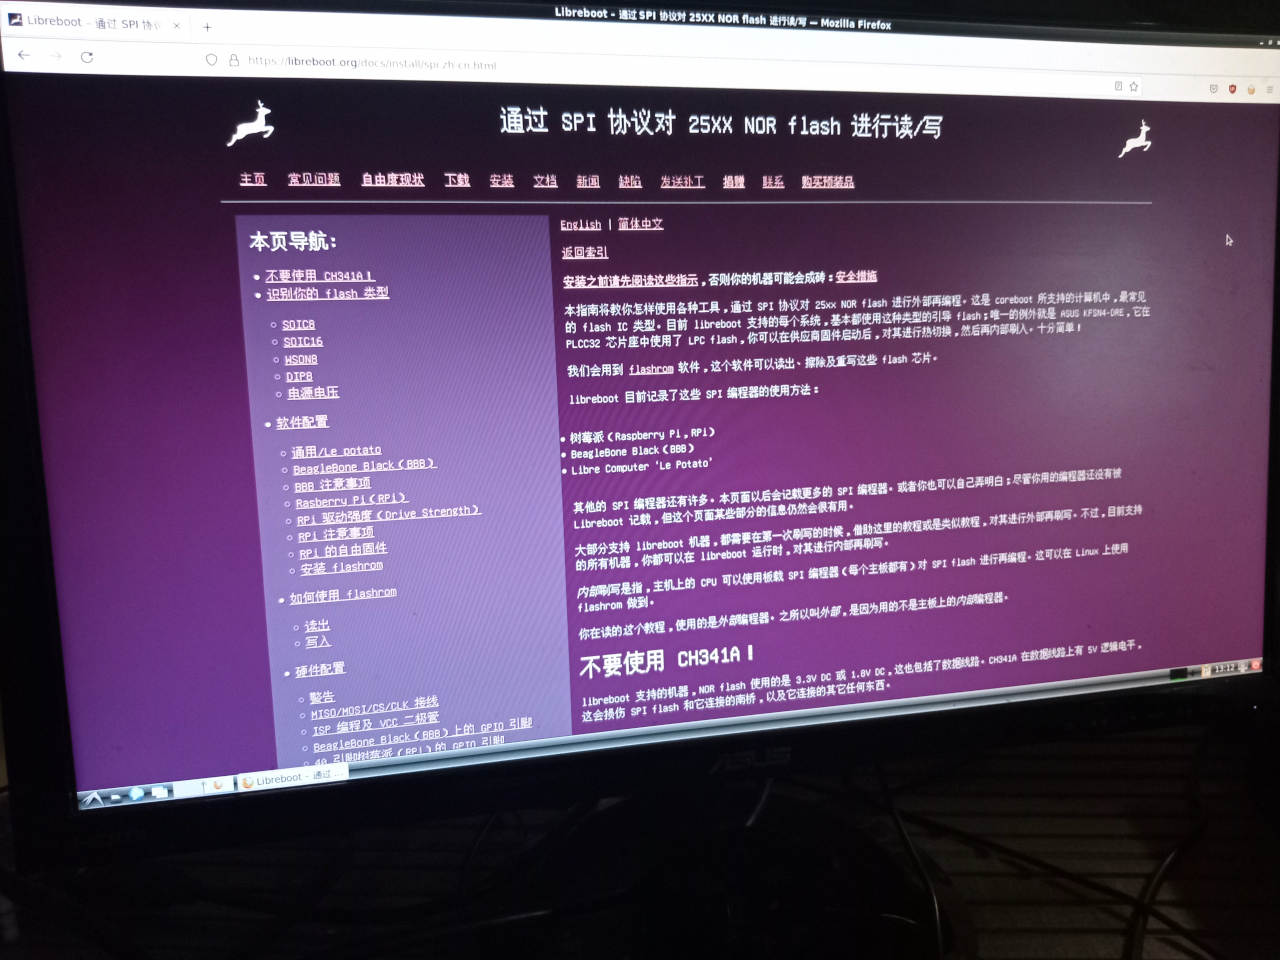
and here is Mozilla Firefox in Debian booted on T1650, showing the Libreboot flashing instructions in Chinese:

Other aspects of the machine are not much to write home about. It’s a standard desktop PC form factor, and you can just run whatever you want on it.
Enjoy your Libreboot machine!
The Canoeboot version of this page is: https://canoeboot.org/docs/install/t1650.html
Markdown file for this page: https://libreboot.org/docs/install/t1650.md
This HTML page was generated by the Libreboot Static Site Generator.