---
title: Install Libreboot on Dell OptiPlex 9020/7020/XE2/T1700 MT/SFF
x-toc-enable: true
...

**[PLEASE READ THESE INSTRUCTIONS BEFORE INSTALLING](ivy_has_common.md), OR
YOU MAY BRICK YOUR MACHINE!! - Please click the link and follow the instructions
there, before flashing. For posterity,
[here is the link again](ivy_has_common.md).**

<div class="specs">
<center>
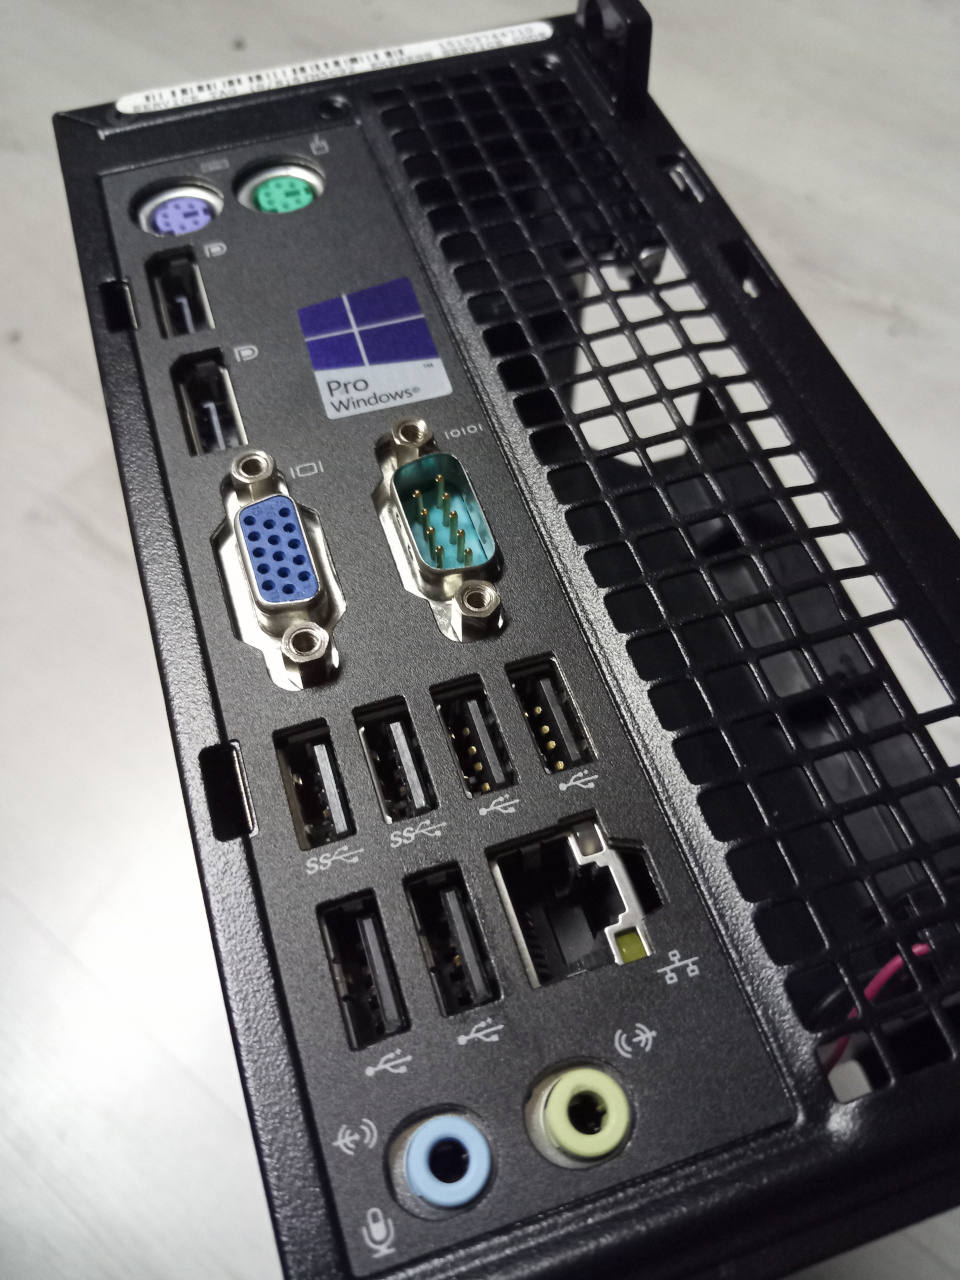
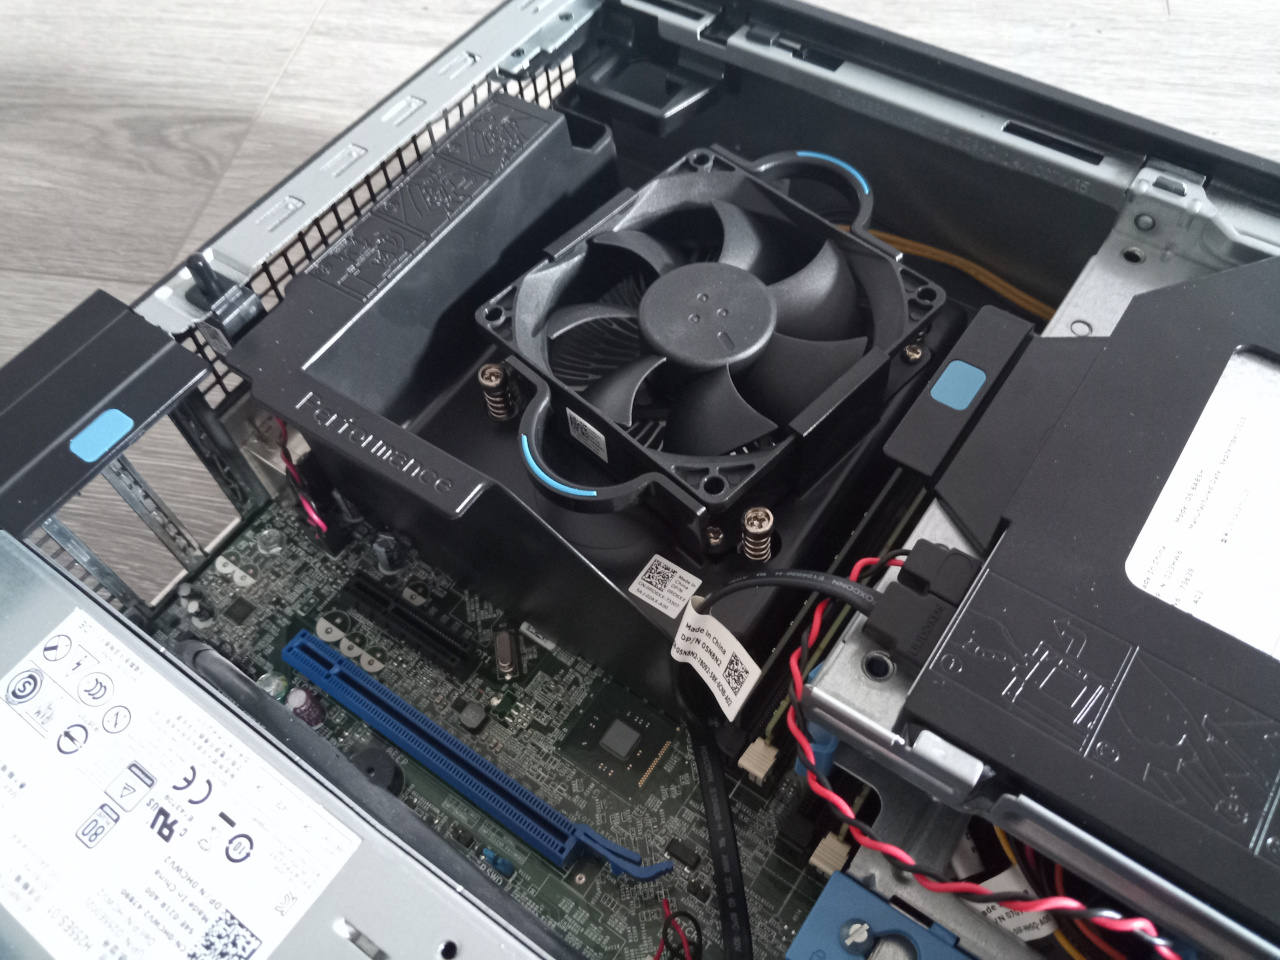
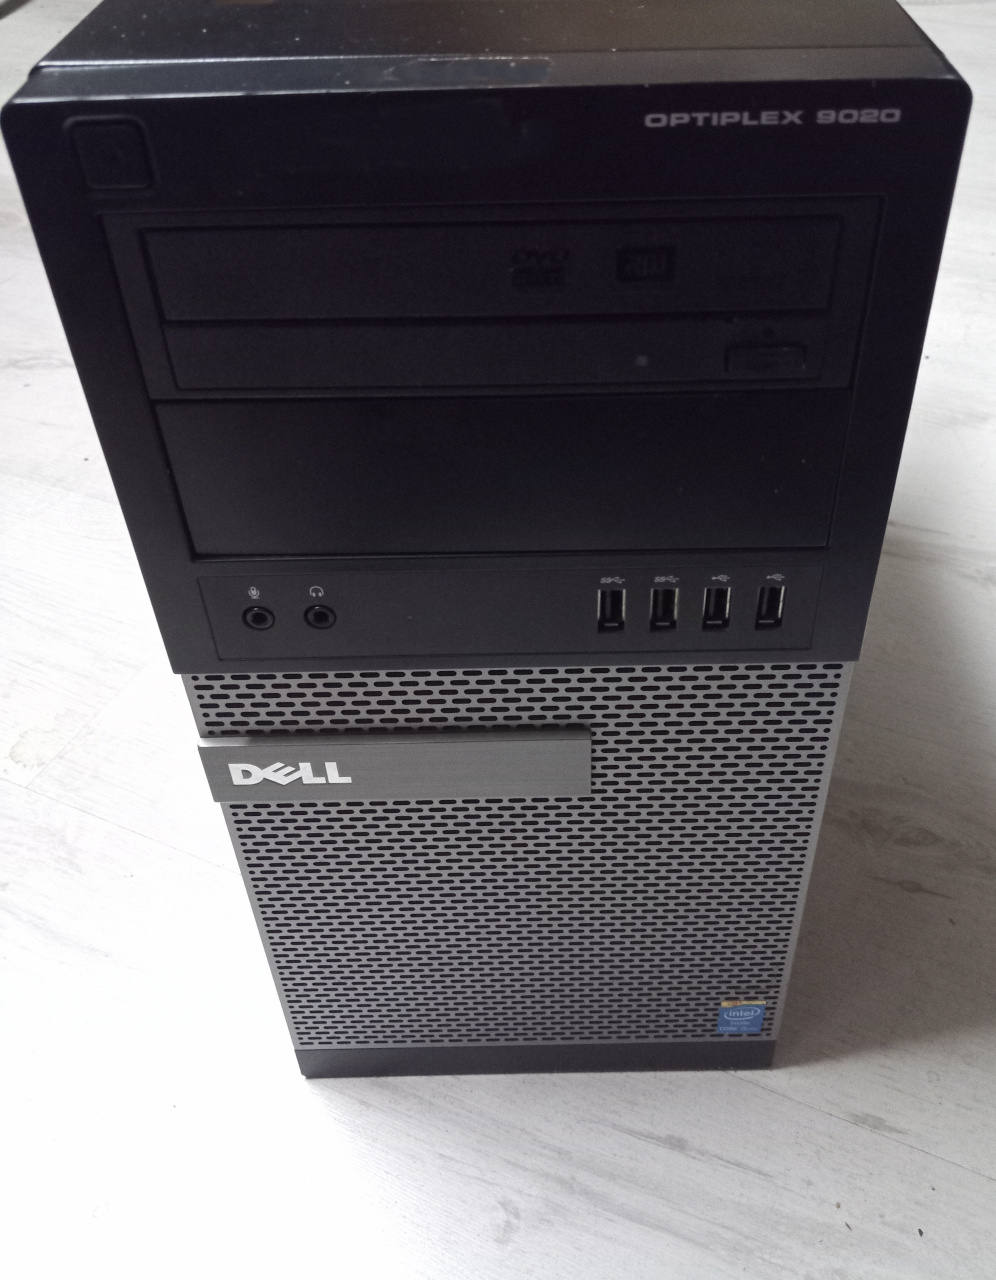
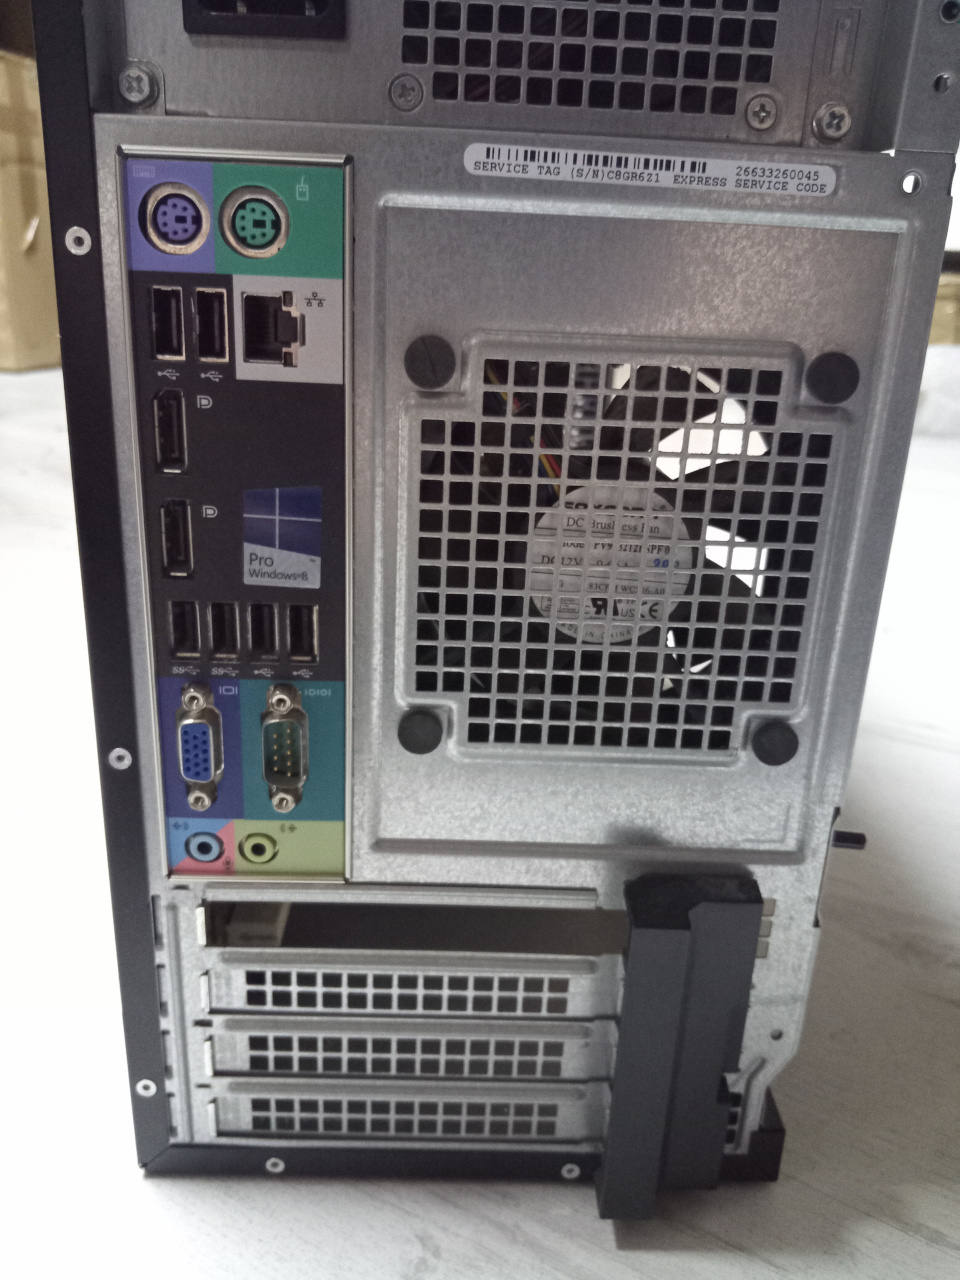
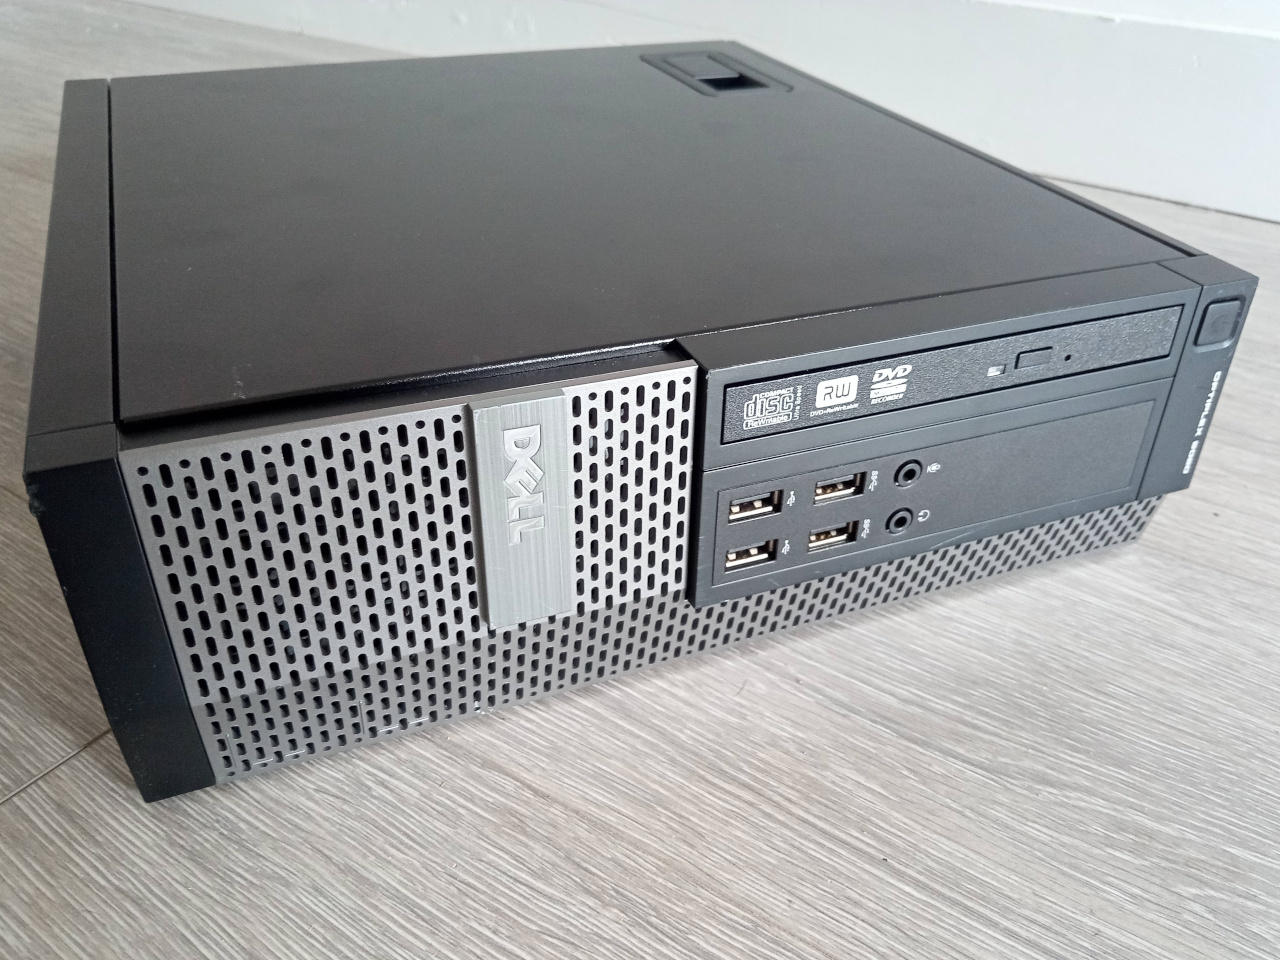
<img tabindex=1 alt="Dell OptiPlex 9020" class="p" src="https://av.libreboot.org/9020/9020sff.jpg" /><span class="f"><img src="https://av.libreboot.org/9020/9020sff.jpg" /></span>
<img tabindex=1 alt="Dell OptiPlex 9020" class="p" src="https://av.libreboot.org/9020/9020sff_ports.jpg" /><span class="f"><img src="https://av.libreboot.org/9020/9020sff_ports.jpg" /></span>
<br/>
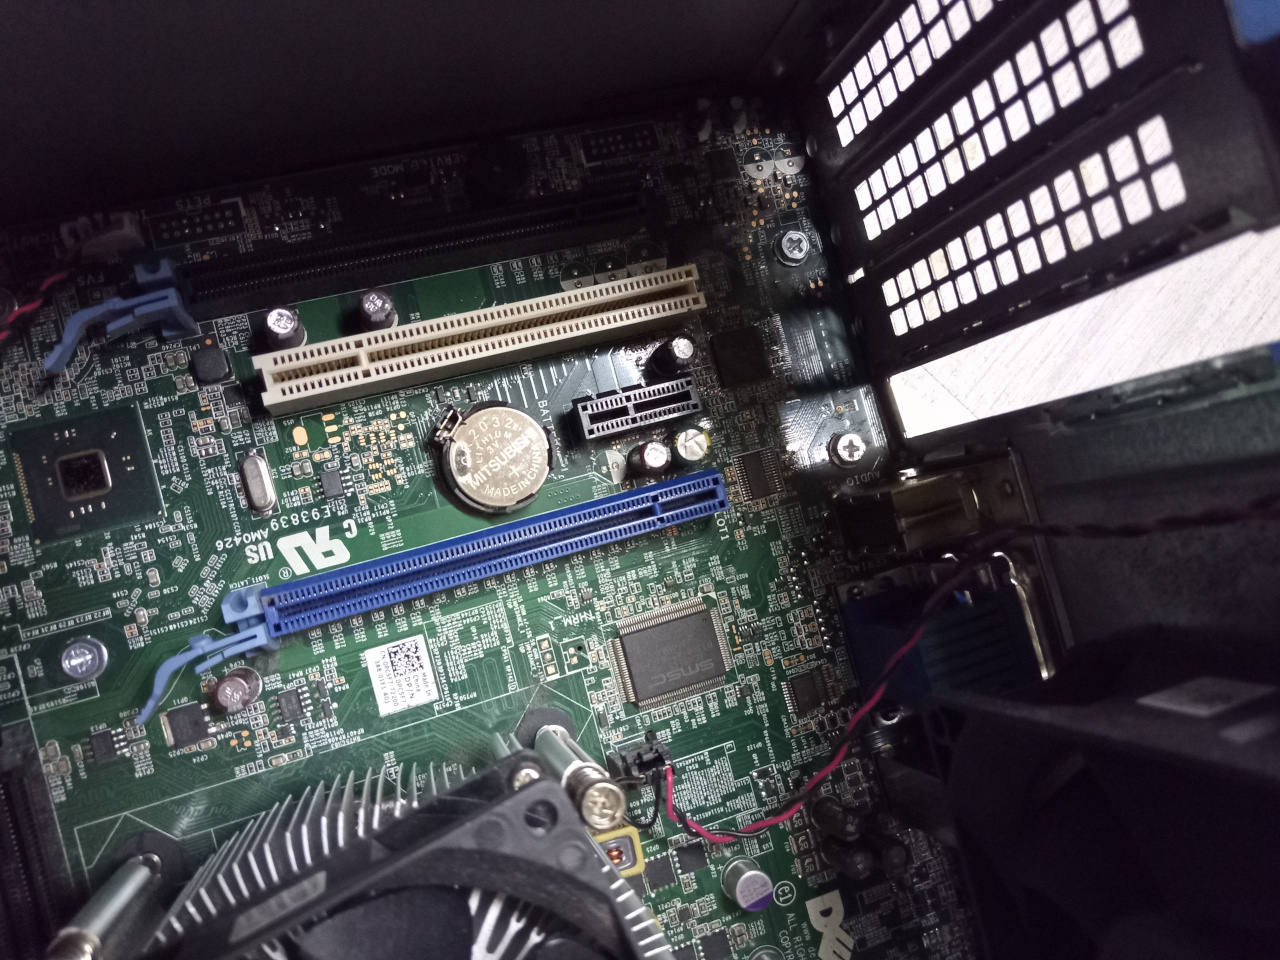
<img tabindex=1 alt="Dell OptiPlex 9020" class="p" src="https://av.libreboot.org/9020/9020sff_inside.jpg" /><span class="f"><img src="https://av.libreboot.org/9020/9020sff_inside.jpg" /></span>
<img tabindex=1 alt="Dell OptiPlex 9020" class="p" src="https://av.libreboot.org/9020/9020mt.jpg" /><span class="f"><img src="https://av.libreboot.org/9020/9020mt.jpg" /></span>
<br/>
<img tabindex=1 alt="Dell OptiPlex 9020" class="p" src="https://av.libreboot.org/9020/9020mt_ports.jpg" /><span class="f"><img src="https://av.libreboot.org/9020/9020mt_ports.jpg" /></span>
<img tabindex=1 alt="Dell OptiPlex 9020" class="p" src="https://av.libreboot.org/9020/9020mt_inside.jpg" /><span class="f"><img src="https://av.libreboot.org/9020/9020mt_inside.jpg" /></span>
</center>

| ***Specifications***       |                                                |
|----------------------------|------------------------------------------------|
| **Manufacturer**           | Dell                                           |
| **Name**                   | OptiPlex 9020 SFF/MT                                |
| **Variants**               | OptiPlex 9020/7020/Xe2/T1700 SFF/MT                  |
| **Chipset**                | Intel Q87 Express (C226 for T1700)                  |
| **CPU**                    | Intel Haswell                               |
| **Graphics**               | Intel HD Graphics |
| **Memory**                 | DDR3 DIMMs (max 32GB, 4x8GB)    |
| **Architecture**           | x86\_64                                         |
| **Original boot firmware** | Dell UEFI firmware                             |
| **Intel ME/AMD PSP**       | Present. Can be disabled with me\_cleaner.      |
| **Flash chip**             | 2x SOIC-8, 12MiB (8+4) (96Mbit)           |


```
W+: Works without vendor firmware; 
N: Doesn't work; 
W*: Works with vendor firmware; 
U: Untested; 
P+: Partially works; 
P*: Partially works with vendor firmware
?: UNKNOWN AT THIS TIME
```

| ***Features***                                    |    |
|---------------------------------------------------|----|
| **Internal flashing with original boot firmware** | W+ |
| **Display (if Intel GPU)**                        | W+ |
| **Display (discrete GPU, SeaBIOS payload only)**  | W* |
| **Audio**                                         | W+ |
| **RAM Init**                                      | W+ |

| ***Payloads supported***   |           |
|----------------------------|-----------|
| **GRUB (libgfxinit only)** | Works     |
| **SeaBIOS**                | Works     |
| **SeaBIOS with GRUB**      | Works     |
</div>

Open source BIOS/UEFI firmware
------------------------------

This document will teach you how to install Libreboot, on your
Dell OptiPlex 9020/7020/XE2/T1700 SFF/MT desktop motherboard.
Libreboot is a [Free Software](https://writefreesoftware.org/learn) project
that replaces proprietary BIOS/UEFI firmware.

**Unavailable in Libreboot 20240126 or earlier. You must [compile from
source](../build/), or use a version newer than Libreboot 20240126**

Official information about this machine can be found here:
<https://i.dell.com/sites/doccontent/shared-content/data-sheets/en/Documents/optiplex-9020-micro-technical-spec-sheet.pdf>

ECC memory support
------------------

The T1700 has ECC memory support with bmrc (Broadwell Memory Reference Code) only, with nri (Native Ram Init) not (yet).

Buy Libreboot preinstalled
--------------------------

You can buy this machine professionally serviced, with Libreboot preinstalled
and your choice of Linux/BSD system. Many upgrades are also available. See:

**Minifree now sells the Libreboot 3050 Micro, instead of the Libreboot
9020 SFF. See: <https://minifree.org/product/libreboot-3050-micro/>**

Sales are conducted to provide funding for the Libreboot project. Leah Rowe
who runs Minifree, is also Libreboot's founder and lead developer.

Patch
-----

Mate Kukri is the author of the original coreboot port. Thanks go to Kukri.
Kukri's patch is here:

<https://review.coreboot.org/c/coreboot/+/55232/31>

This patch, at this revision (patchset 31), is what Libreboot uses for this
port.

### QUBES: how to get it working

Qubes requires IOMMU to be turned on. Please now read the next section.
Qubes *WILL* work, if you configure Libreboot as directed below, but otherwise
it will fail by default. This is because Libreboot *disables the IOMMU by
default*, on this board.

### Graphics cards and IOMMU

IOMMU is buggy for some reason (we don't know why yet), when you plug in
a graphics card. The graphics card simply won't work. On some of them,
you can use the console but as soon as you start xorg/wayland, it will just b0rk.

Current Libreboot revisions *disable IOMMU by default*, on this board. The
coreboot code for initialising IOMMU was modified by the Libreboot project, to
make it a toggle. IOMMU works fine if you use only Intel graphics.

If you want to use IOMMU *with a graphics card*, you also can. Use this Linux
kernel option at boot:

	intel_iommu=enable,igfx_off

With the above option, IOMMU is enabled *except* for the Intel GPU. However,
Libreboot also *disables the Intel GPU* in coreboot, entirely, when a graphics
card is used. With the above option, it's possible that something like Qubes
may work, which requires an IOMMU to be turned on.

If you are using Intel graphics, and not a graphics card, you can ignore the
above, and instead fully turn on the IOMMU, without any special kernel options.

The way coreboot works is this: if vt-d is present on the CPU, it enables an
IOMMU, and only if vt-d is present. This is still the behaviour in Libreboot,
but Libreboot adds an additional check: if `iommu` is not set in nvram, it
defaults to on, but if it's set to disabled, then IOMMU is not initialised.

### Enable IOMMU

IOMMU is *disabled by default*, universally, on this board. You can turn it on,
by modifying the ROM image prior to flashing, or modifying it prior to
re-flashing.

On all other Haswell boards, LIbreboot enables IOMMU by default. To enable
it on these boards, do this on your ROM:

	nvramtool -C libreboot.rom -w iommu=Enable

If you're using a graphics card, please make sure to read the above notes
about how to use IOMMU; specifically, the part that talks about Linux kernel
option `intel_iommu=enable,igfx_off`

Then flash the ROM image. You can find nvramtool
under `src/coreboot/default/util/nvramtool`. Do this in lbmk if you don't
already havse `src/coreboot/default/`:

	./mk -f coreboot default

Then do this:

	make -C src/coreboot/default/util/nvramtool

The binary `nvramtool` will then live in that directory. More information
available in [Libreboot build instructions](../build/). Information about
dumping/flashing the ROM can be found
in [Libreboot flashing instructions](../install/)
and [Libreboot external flashing instructions](../install/spi.md).

NOTE: If IOMMU is enabled, you can still use a graphics card, but you must
pass this on the Linux cmdline paramaters: `iommu=off` - or if you need
IOMMU (e.g. for Qubes), use `intel_iommu=enable,igfx_off` instead.

NOTE2: Libreboot uses a *static option table* on all boards that have nvram,
which is why you must use the `-C` option on your ROM, to change the static
table that is baked into it.

Here is an example of the type of errors we got when testing graphics cards
with IOMMU enabled:

<https://av.vimuser.org/error.jpg>

Make sure to configure your image accordingly.

### Build ROM image from source

With Native Ram Init (Recommended!):

For the MT variants:

	./mk -b coreboot dell9020mt_nri_12mb

For the SFF variants:

	./mk -b coreboot dell9020sff_nri_12mb

With brmc (for ECC support on the T1700 boards only):

T1700 MT:

	./mk -b coreboot t1700mt_bmrc_12mb

T1700 SFF:

	./mk -b coreboot t1700sff_bmrc_12mb
	
It is important that you choose the right one. The MT variant is the full
MTX tower.

Installation
------------

### Insert binary files

If you're using a release ROM, please ensure that you've inserted extra firmware
required refer to the [guide](../install/ivy_has_common.md) for that. (failure
to adhere to this advice will result in a bricked machine)

Libreboot's build system automatically downloads and processes these files if
you build Libreboot from source, but the same logic that it uses must be re-run
if you're using a release image.

### Set MAC address

This platform uses an Intel Flash Descriptor, and defines an Intel GbE NVM
region. As such, release/build ROMs will contain the same MAC address. To
change the MAC address, please read [nvmutil documentation](../install/nvmutil.md).

### Flash a ROM image (software)

If you're already running Libreboot, and you don't have flash protection
turned on, [internal flashing](../install/) is possible.

Internal flashing can also be done with the original Dell BIOS, if the
SERVICE\_MODE jumper near the PCIe slots is installed. Before flashing,

	rmmod spi-intel-platform

needs to be run to prevent errors. Once Libreboot is installed, the
SERVICE\_MODE jumper can be removed.

**Note: The Dell BIOS can write EFI variables to flash when shutting
down, which could corrupt the newly flashed Libreboot ROM and render
the system unusable. To prevent this, after flashing internally from
the original Dell BIOS, remove power from the computer instead of
shutting it down normally. It's recommended to use a live USB instead
of the internal drive to prevent potential filesystem corruption.**

### Flash a ROM image (hardware)

**REMOVE all power sources and connectors from the machine, before doing this.
This is to prevent short circuiting and power surges while flashing.**

For general information, please refer to [25xx NOR flash
instructions](../install/spi.md) - that page refers to use of socketed flash.

There are two SOIC-8 chips. You can split up your 12MB ROM image
like so:

	dd if=libreboot.rom of=4mb.rom bs=1M skip=8
	dd if=libreboot.rom of=8mb.rom bs=1M count=8

The side cover comes off easily, and you can find the flash ICs next to the RAM.

Here's the SOIC8 ICs being flashed:

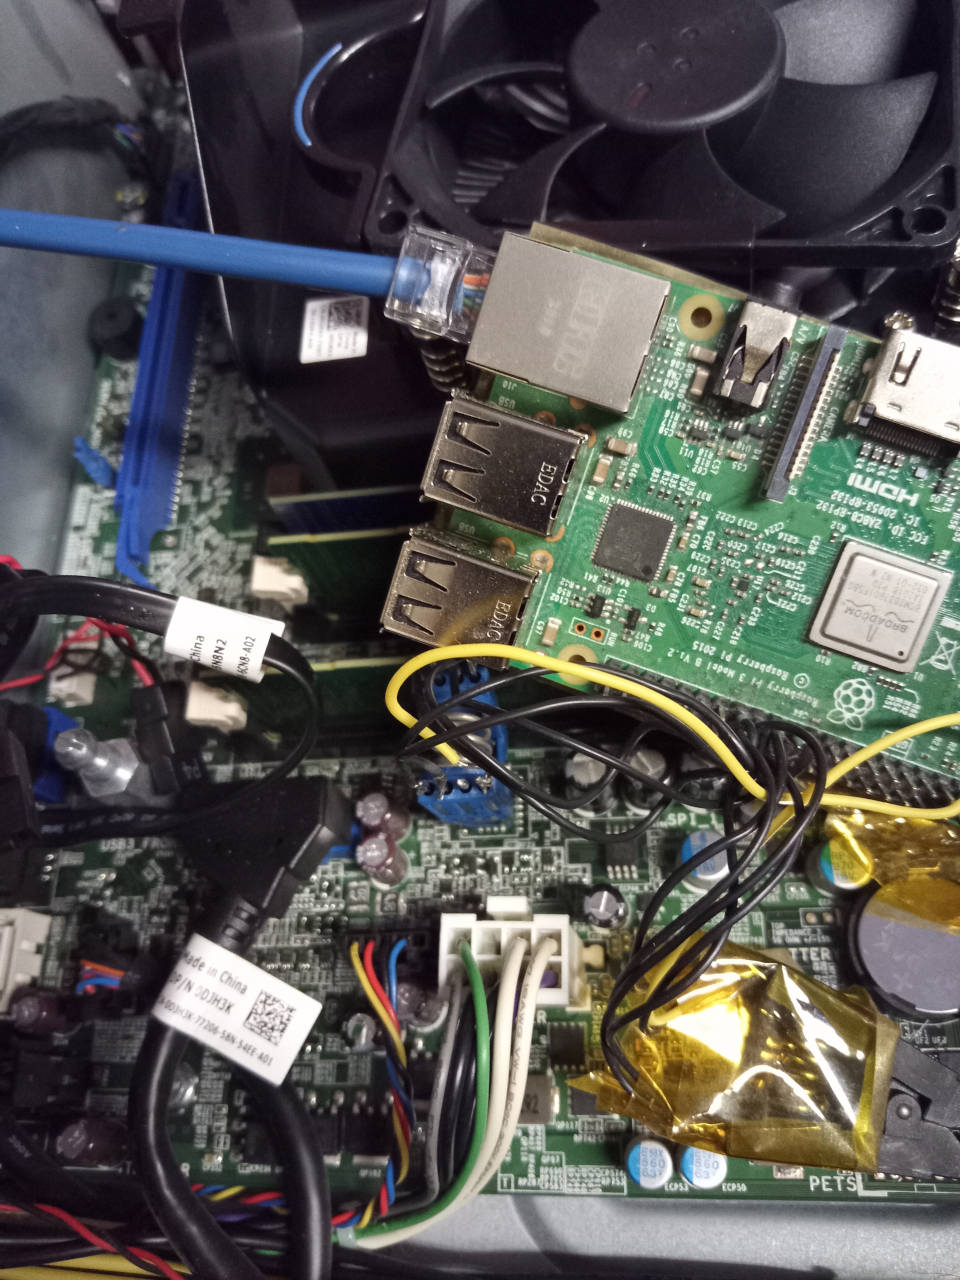
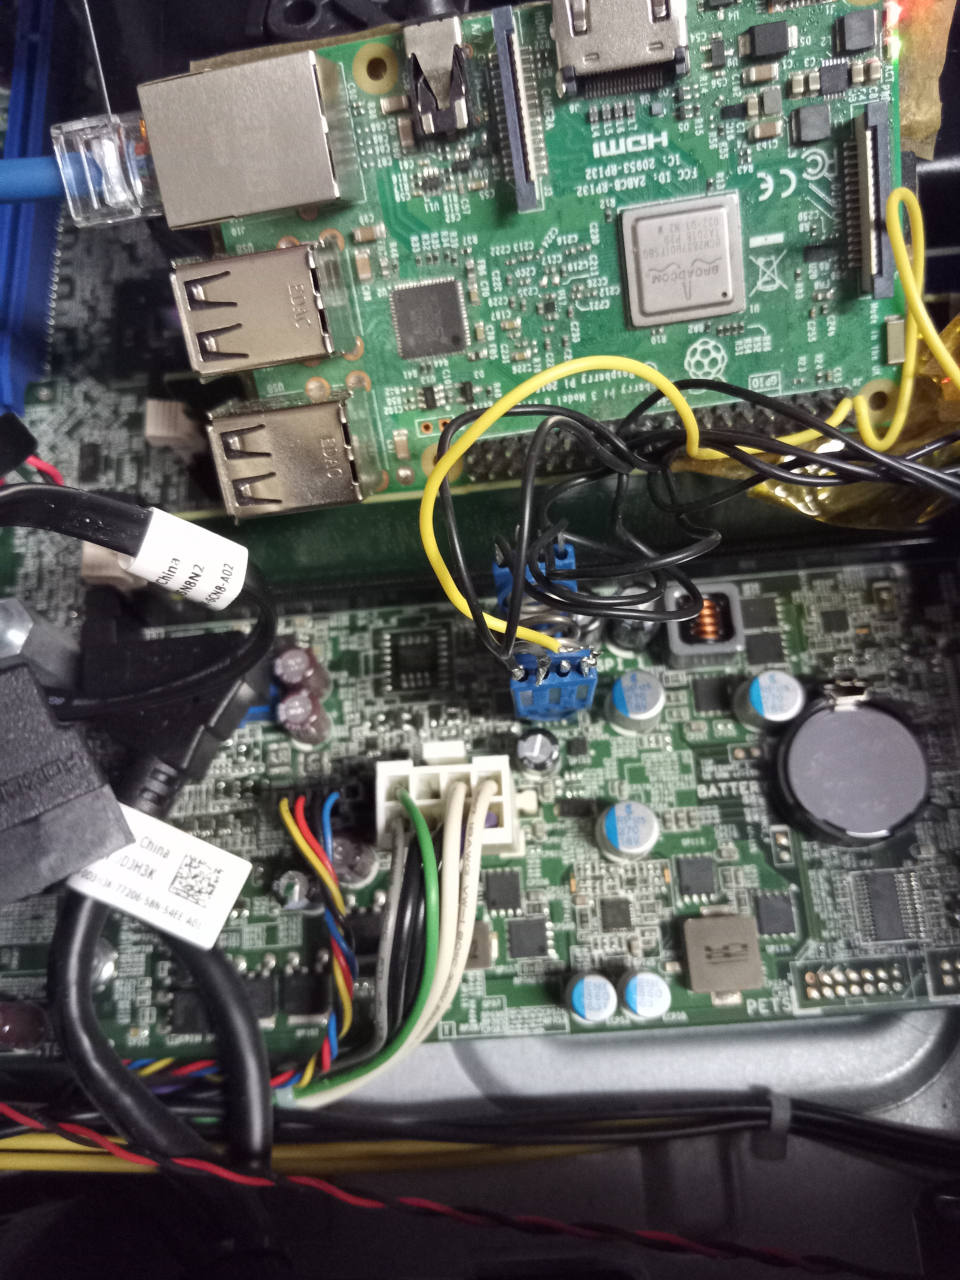
<img tabindex=1 alt="SOIC8 flash IC on 9020 SFF" style="max-width:35%" src="https://av.libreboot.org/9020/9020sff_flash1.jpg" /><span class="f"><img src="https://av.libreboot.org/9020/9020sff_flash1.jpg" /></span>
<img tabindex=1 alt="SOIC8 flash IC on 9020 SFF" style="max-width:35%" src="https://av.libreboot.org/9020/9020sff_flash2.jpg" /><span class="f"><img src="https://av.libreboot.org/9020/9020sff_flash2.jpg" /></span>

Enjoy!


[//]: # "SPDX-License-Identifier: GFDL-1.3-or-later"


The Canoeboot version of this page is: <https://canoeboot.org/docs/install/dell9020.html>